Chiang Mai Cooking Class
When I research what to do in any given destination, I basically just look at all the blogs that look interesting and slowly take note of which things all of the different blogs have in common. That’s how I find THE things to do. For Chiang Mai, one of the things on almost every “must do in Chiang Mai” list was a cooking class. I am SO glad we did this one! It was a little tricky to navigate at first because we do have a toddler with us. But I just emailed one that I found that was highly reviewed and they set us up. I’ll give more details on who we booked with and how we did that later on.
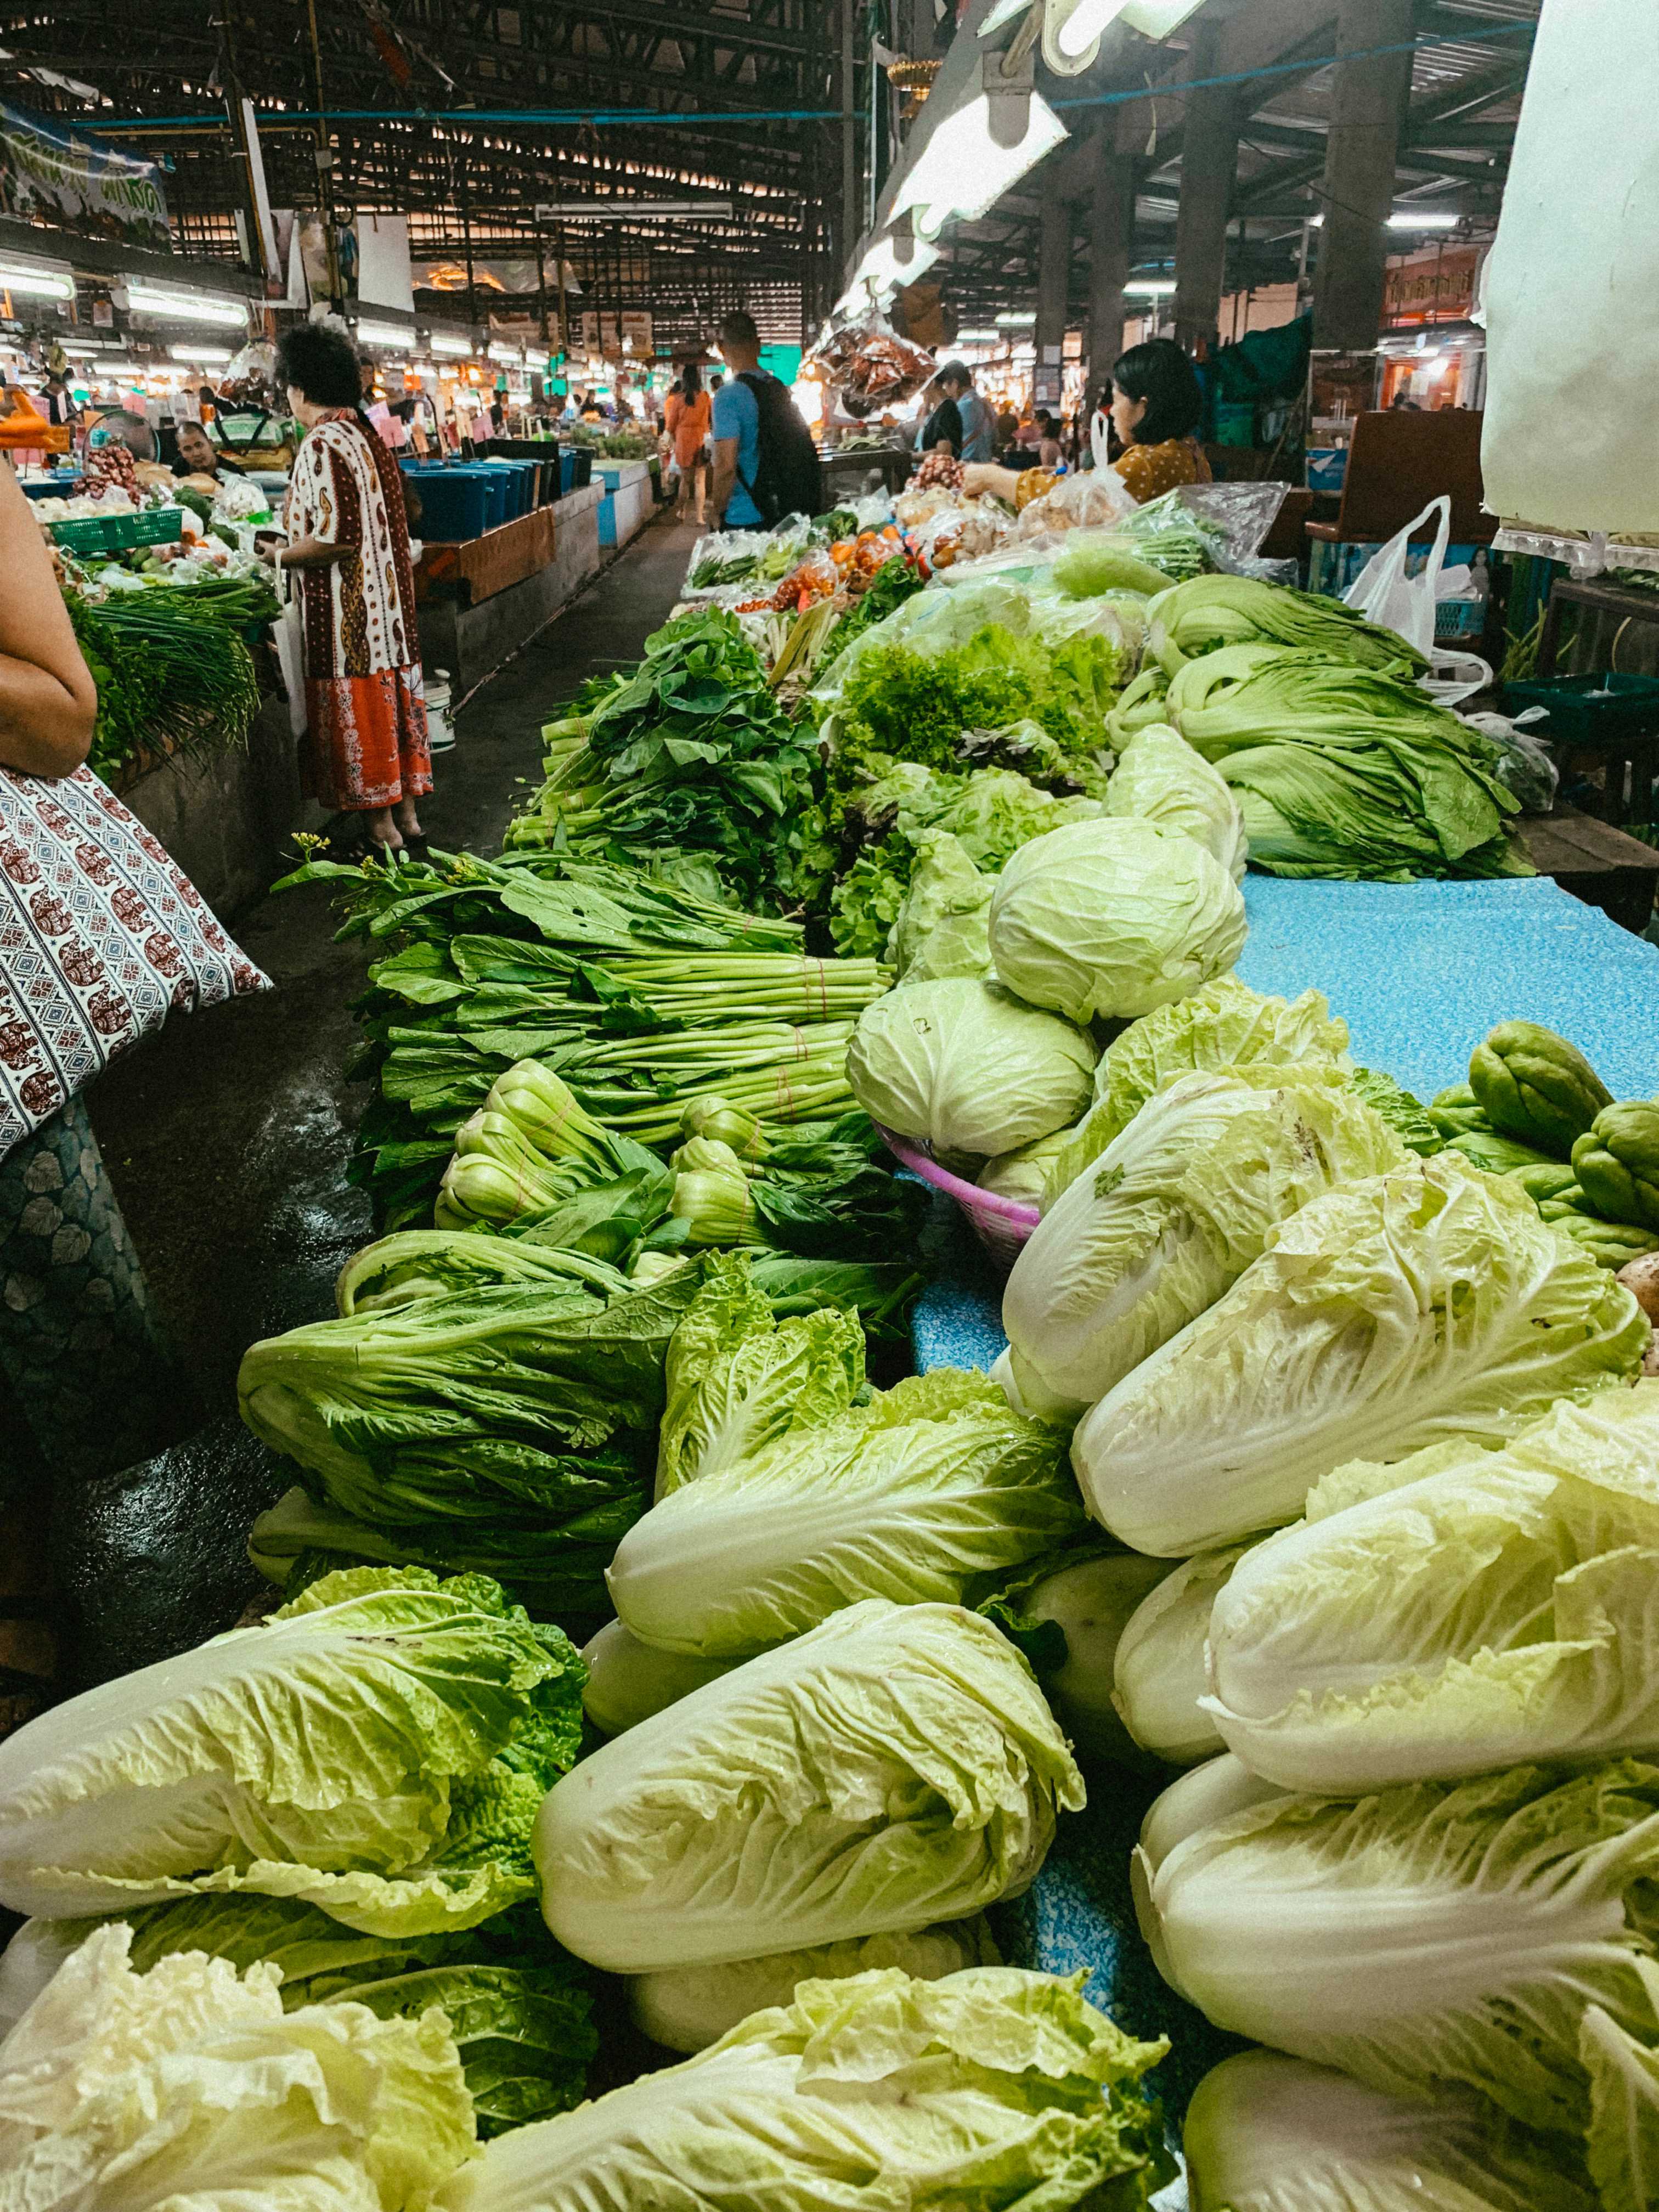
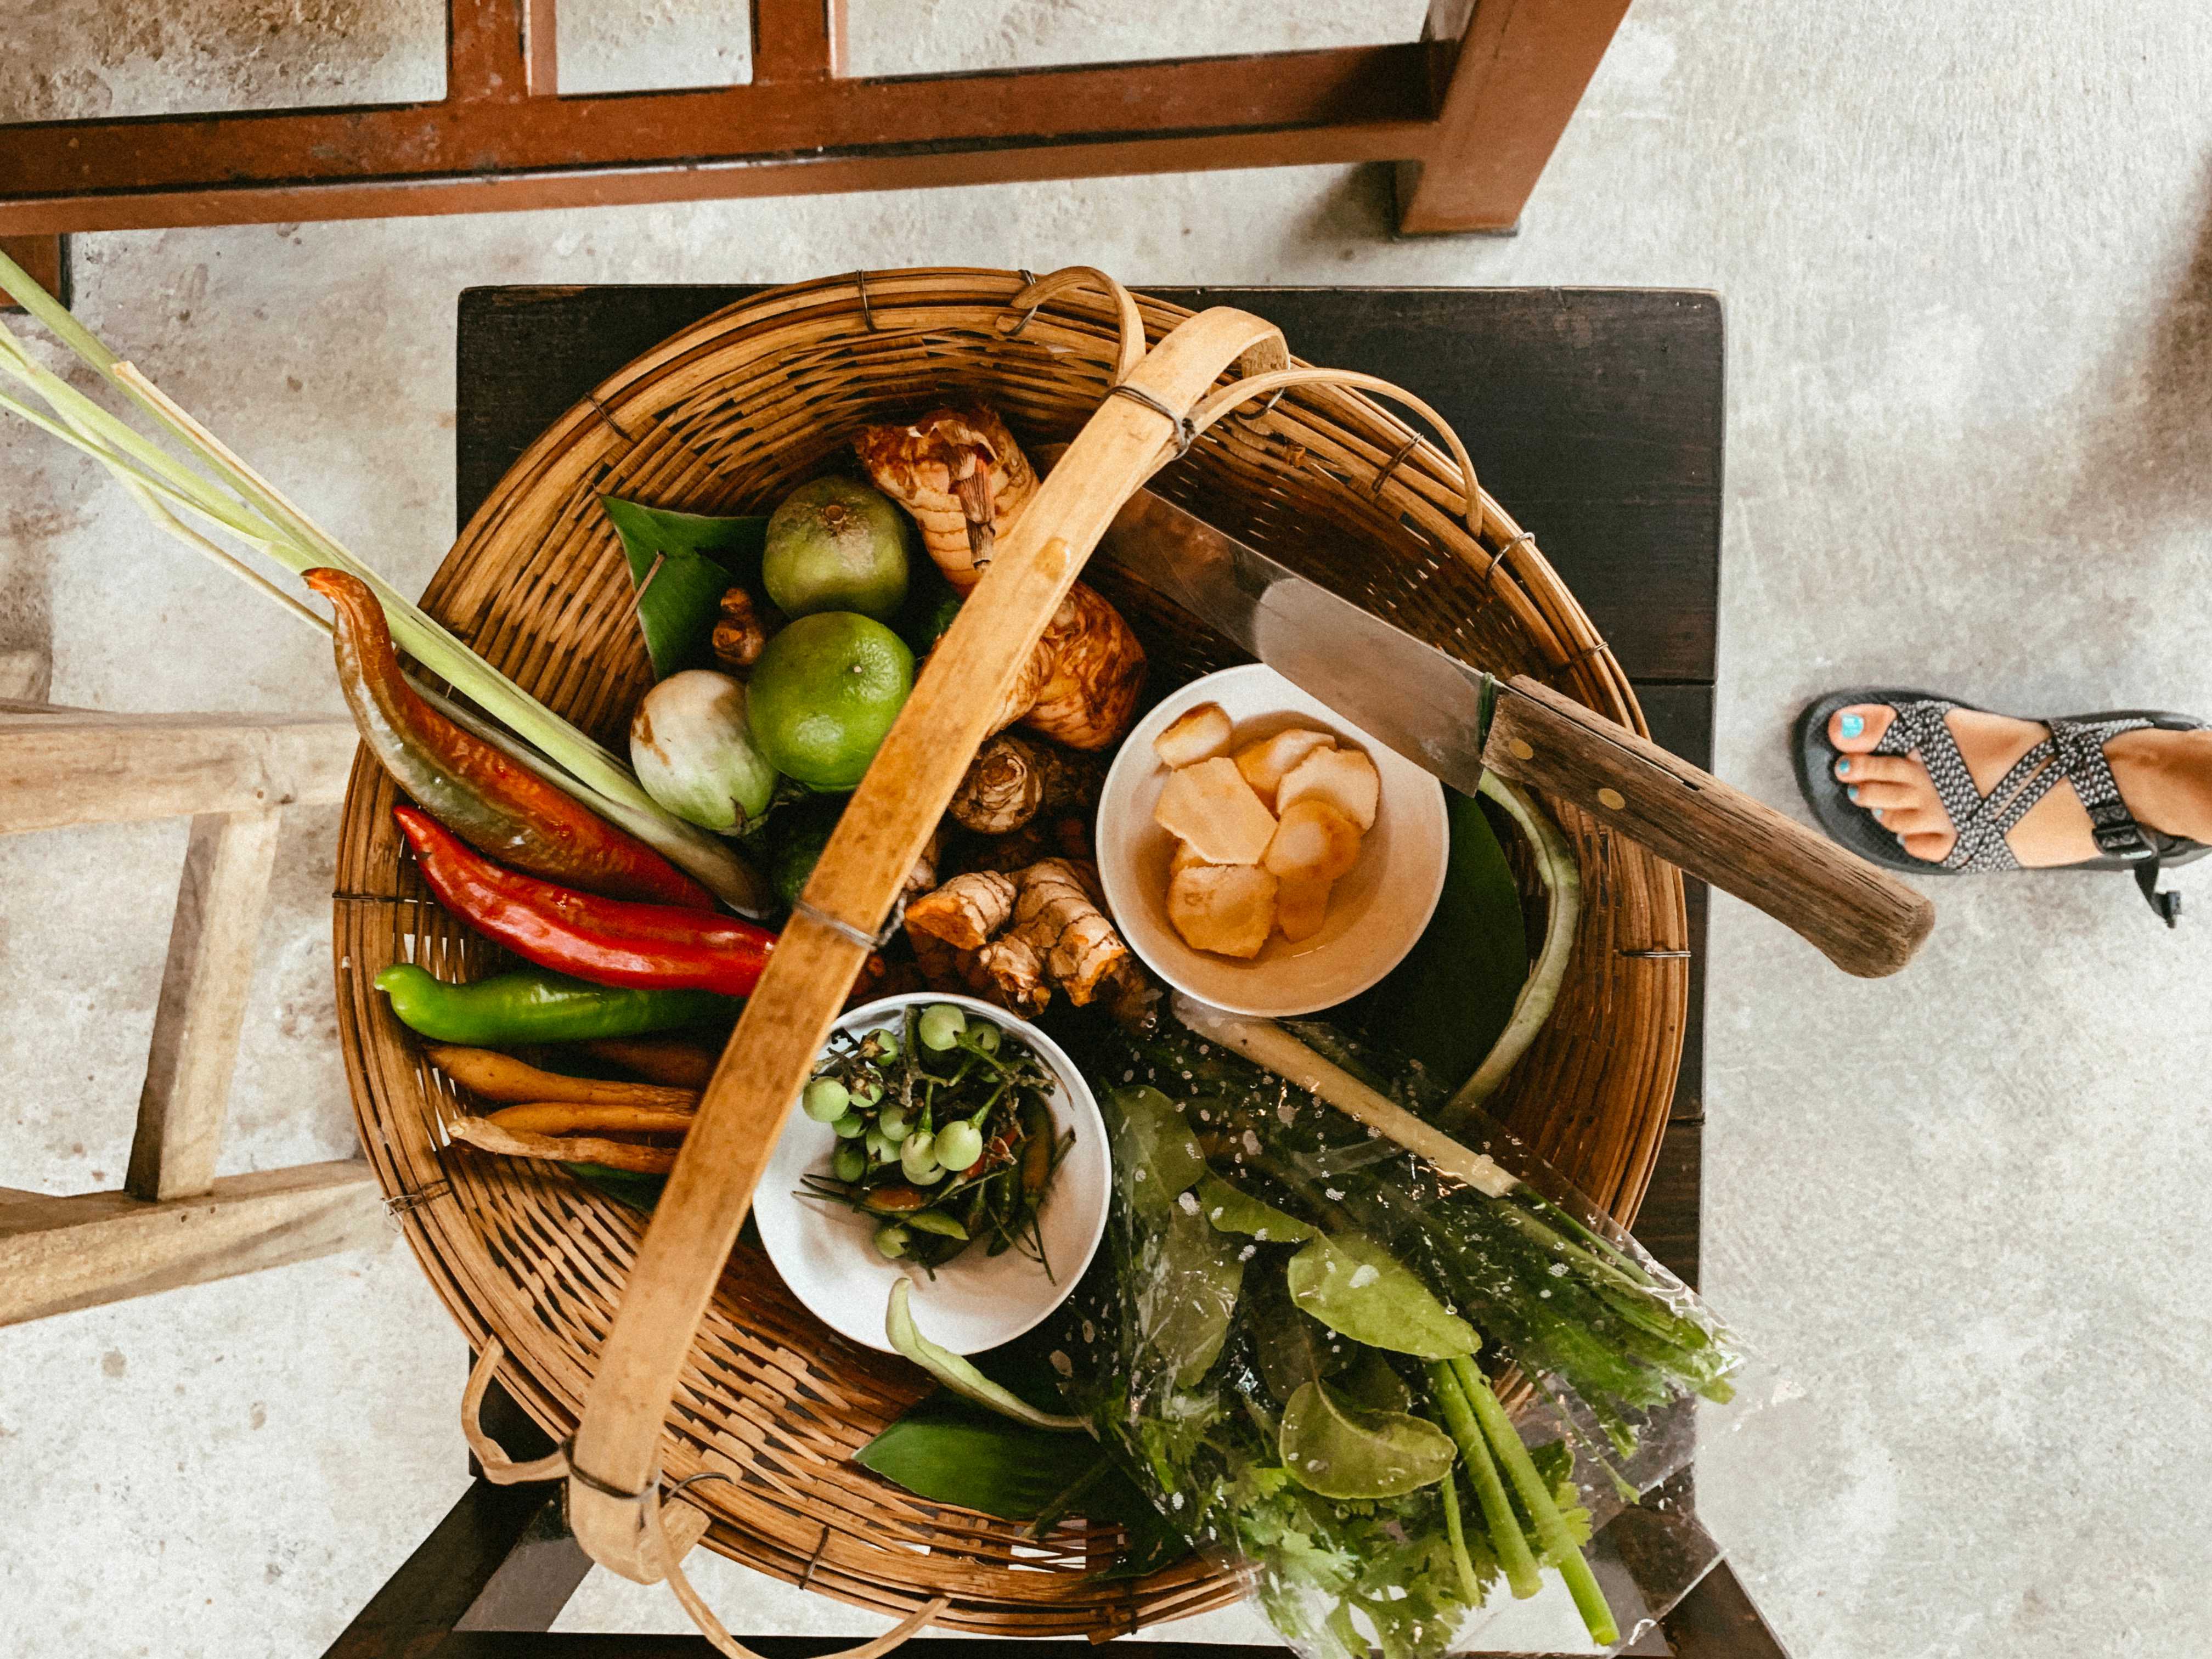
We met the tour group at a local market since our condo was outside of their pick up zone. I wouldn’t recommend doing that, because they kind of forgot about us and I had to call their office to find the group at the market, but that’s on us I guess. We could have met the group at their office location earlier in the morning to drive around to pick up everyone else, but that just seemed like a waste of time (and lost sleep) so we opted to meet at the market. It all worked out fine. But… I was quite confused on why the trip to the market was a part of the tour. Most of the cooking class tours advertise that they go to a local market, and then go to their location to cook and eat, etc. Doesn’t that imply that you will buy the ingredients for the meal you are making? We didn’t buy anything for our meals we were cooking, we just walked around the market and then got back in the van to head to their cooking school farm. It was definitely cool to see the market, but there wasn’t any correlation which I thought was strange.. But anyway.
We drove in the van with the rest of our group to the cooking school! This particular one is on a farm where they grow a lot of their own herbs. We took some time and walked around the farm and our teacher showed us all of the different herbs and we got to taste/smell them. We picked our own peppers for our curry paste which was intimidating because spicy is a different kind of spicy in Thailand. I don’t know if you know about “THAI SPICY” but I basically mean to say that when a Thai person asks if you want it spicy and you say yes, you better clarify that you actually mean a little bit spicy (which equals very spicy in America), because Thai spicy is on an ENTIRELY. DIFFERENT. LEVEL. I am not kidding. I haven’t always been a fan of spicy food, and am still building up my tolerance, but I took one teeny tiny bite of the green ghost pepper (which is the LEAST spicy of the two options—green pepper or red pepper) and I didn’t even chew any off, just the inside of the pepper touched my tongue, and my tongue was on fire. Immediately on fire. Lots of water. So spicy haha. And our teacher was saying about using THREE of the RED (more spicy!) peppers for a curry paste. AH! Haha. It’s good that you can customize it to your spicy level.
We learned about how to rinse rice and how to make sticky rice (you SOAK rice grains in water and then steam the rice on its own— NOT in water, interesting right?) and how to make normal jasmine rice. We got the rice started before we went on our tour of the farm garden.
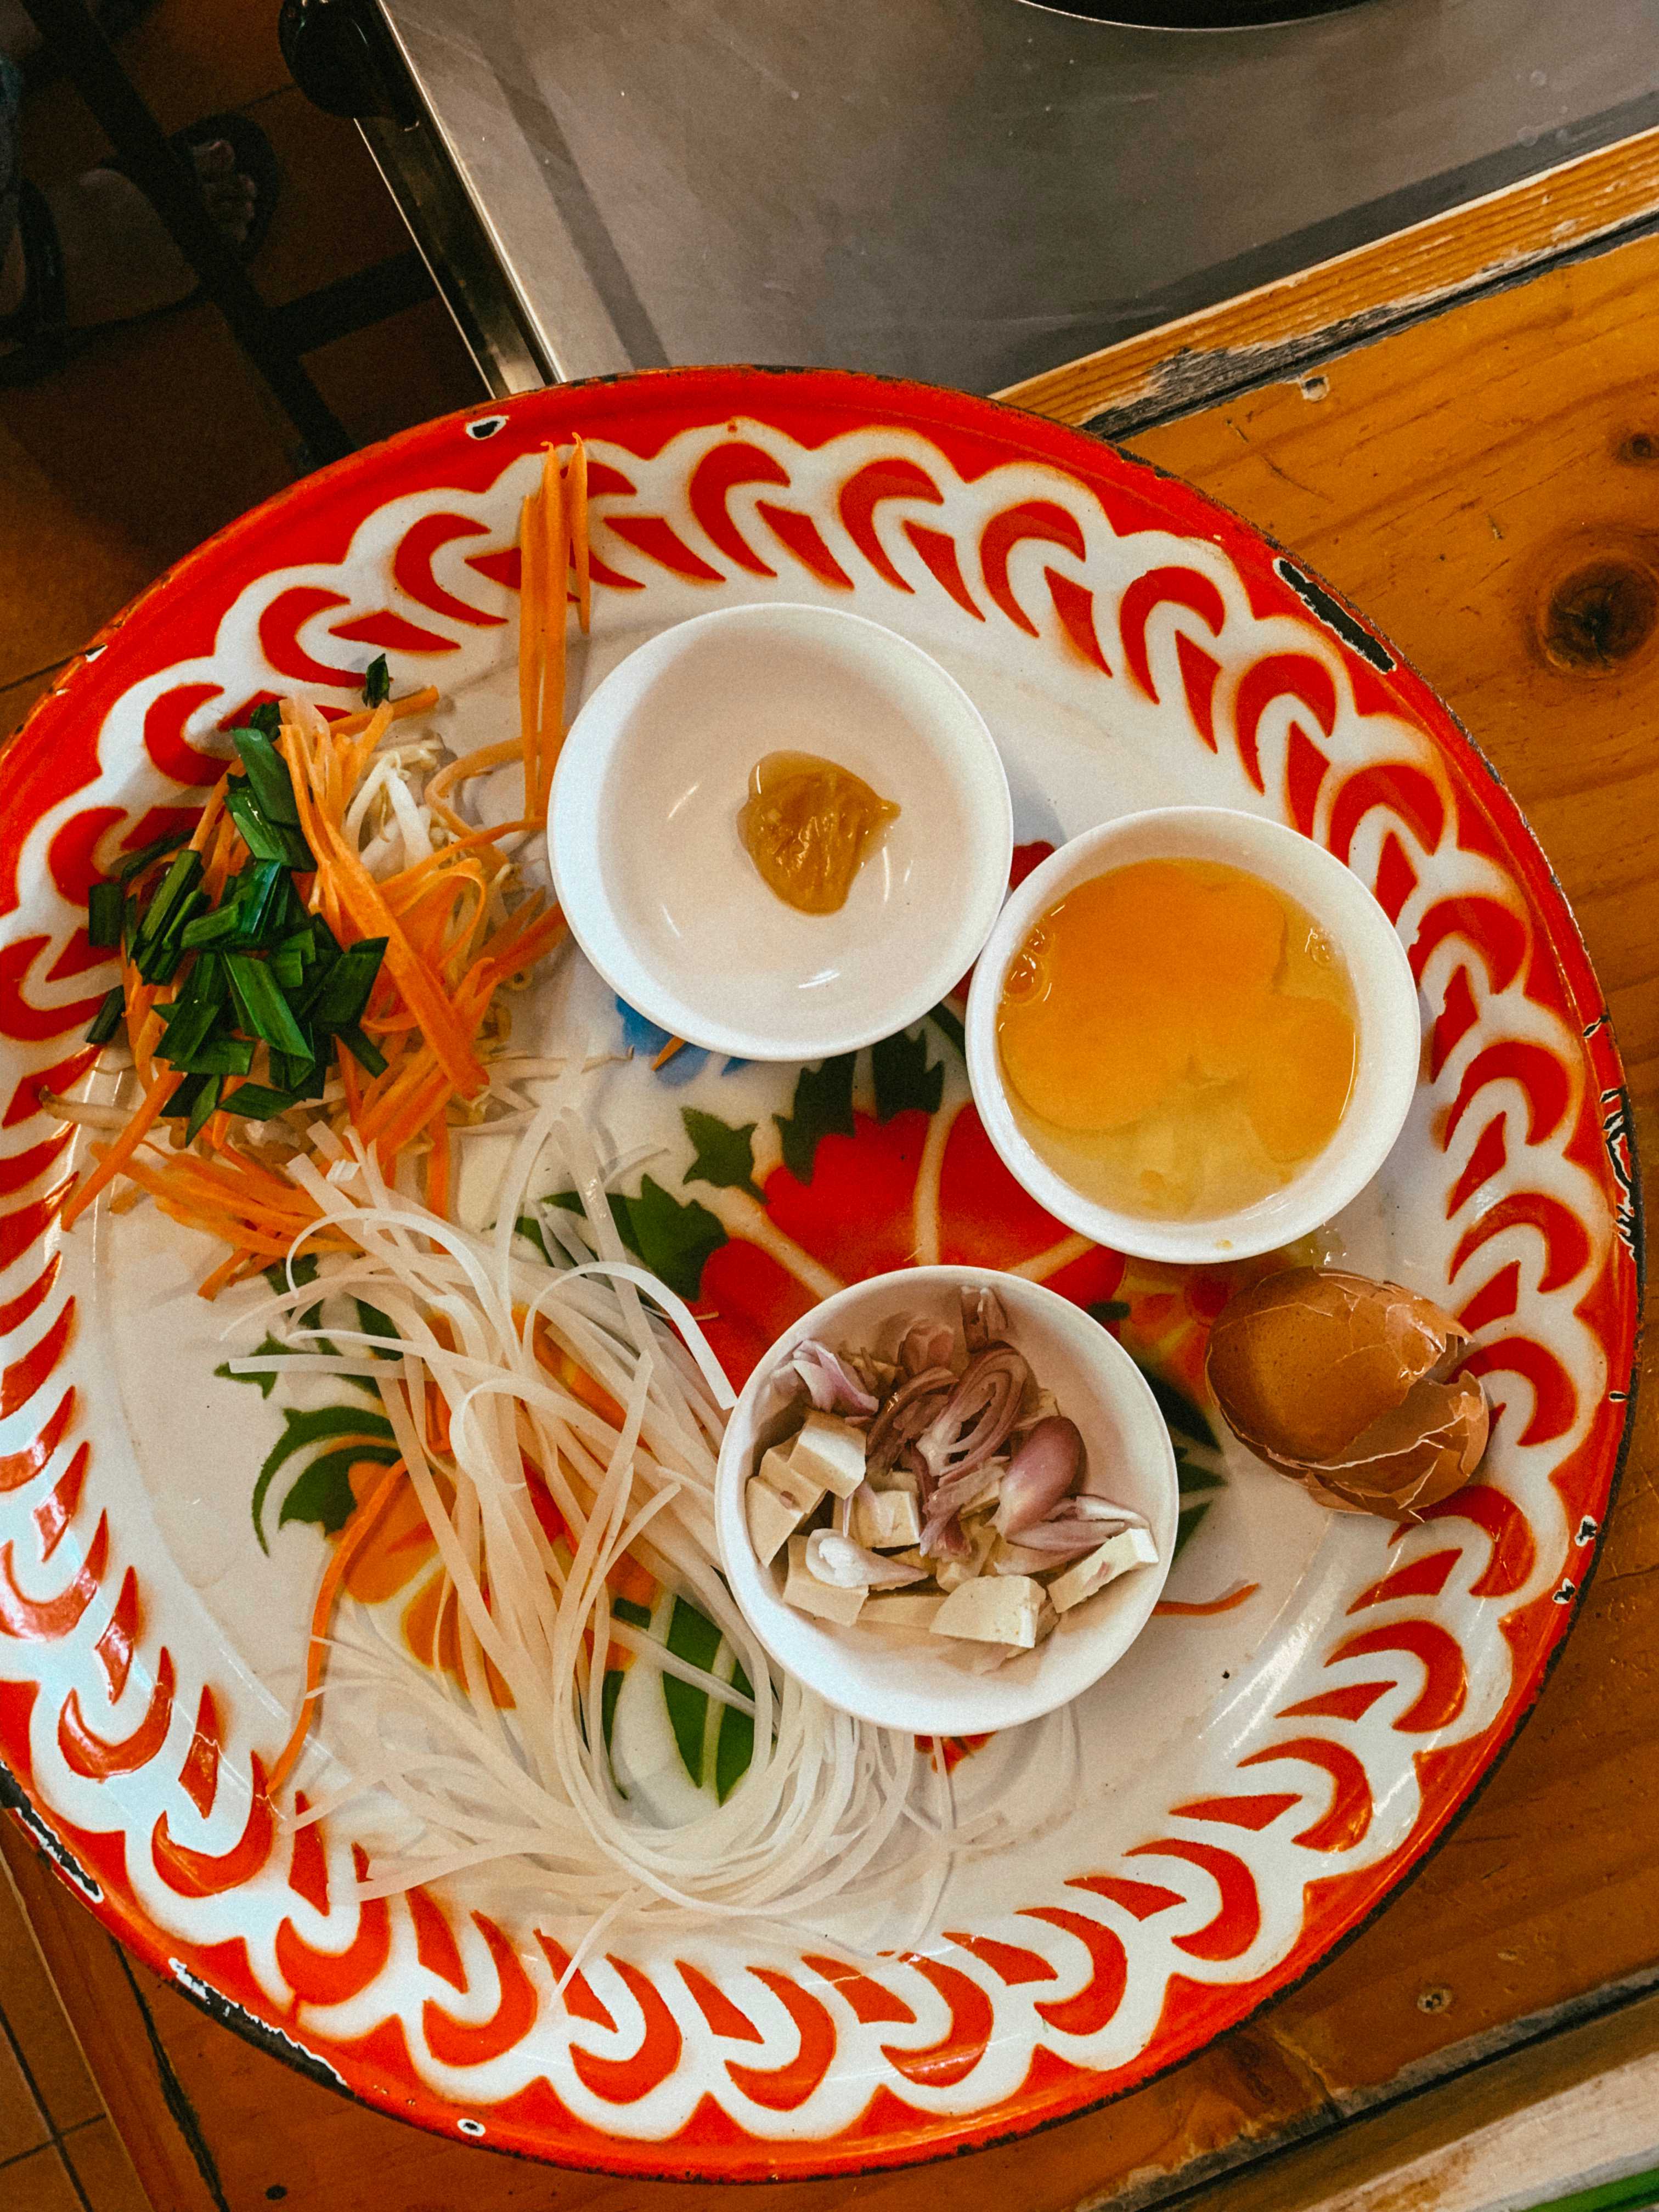
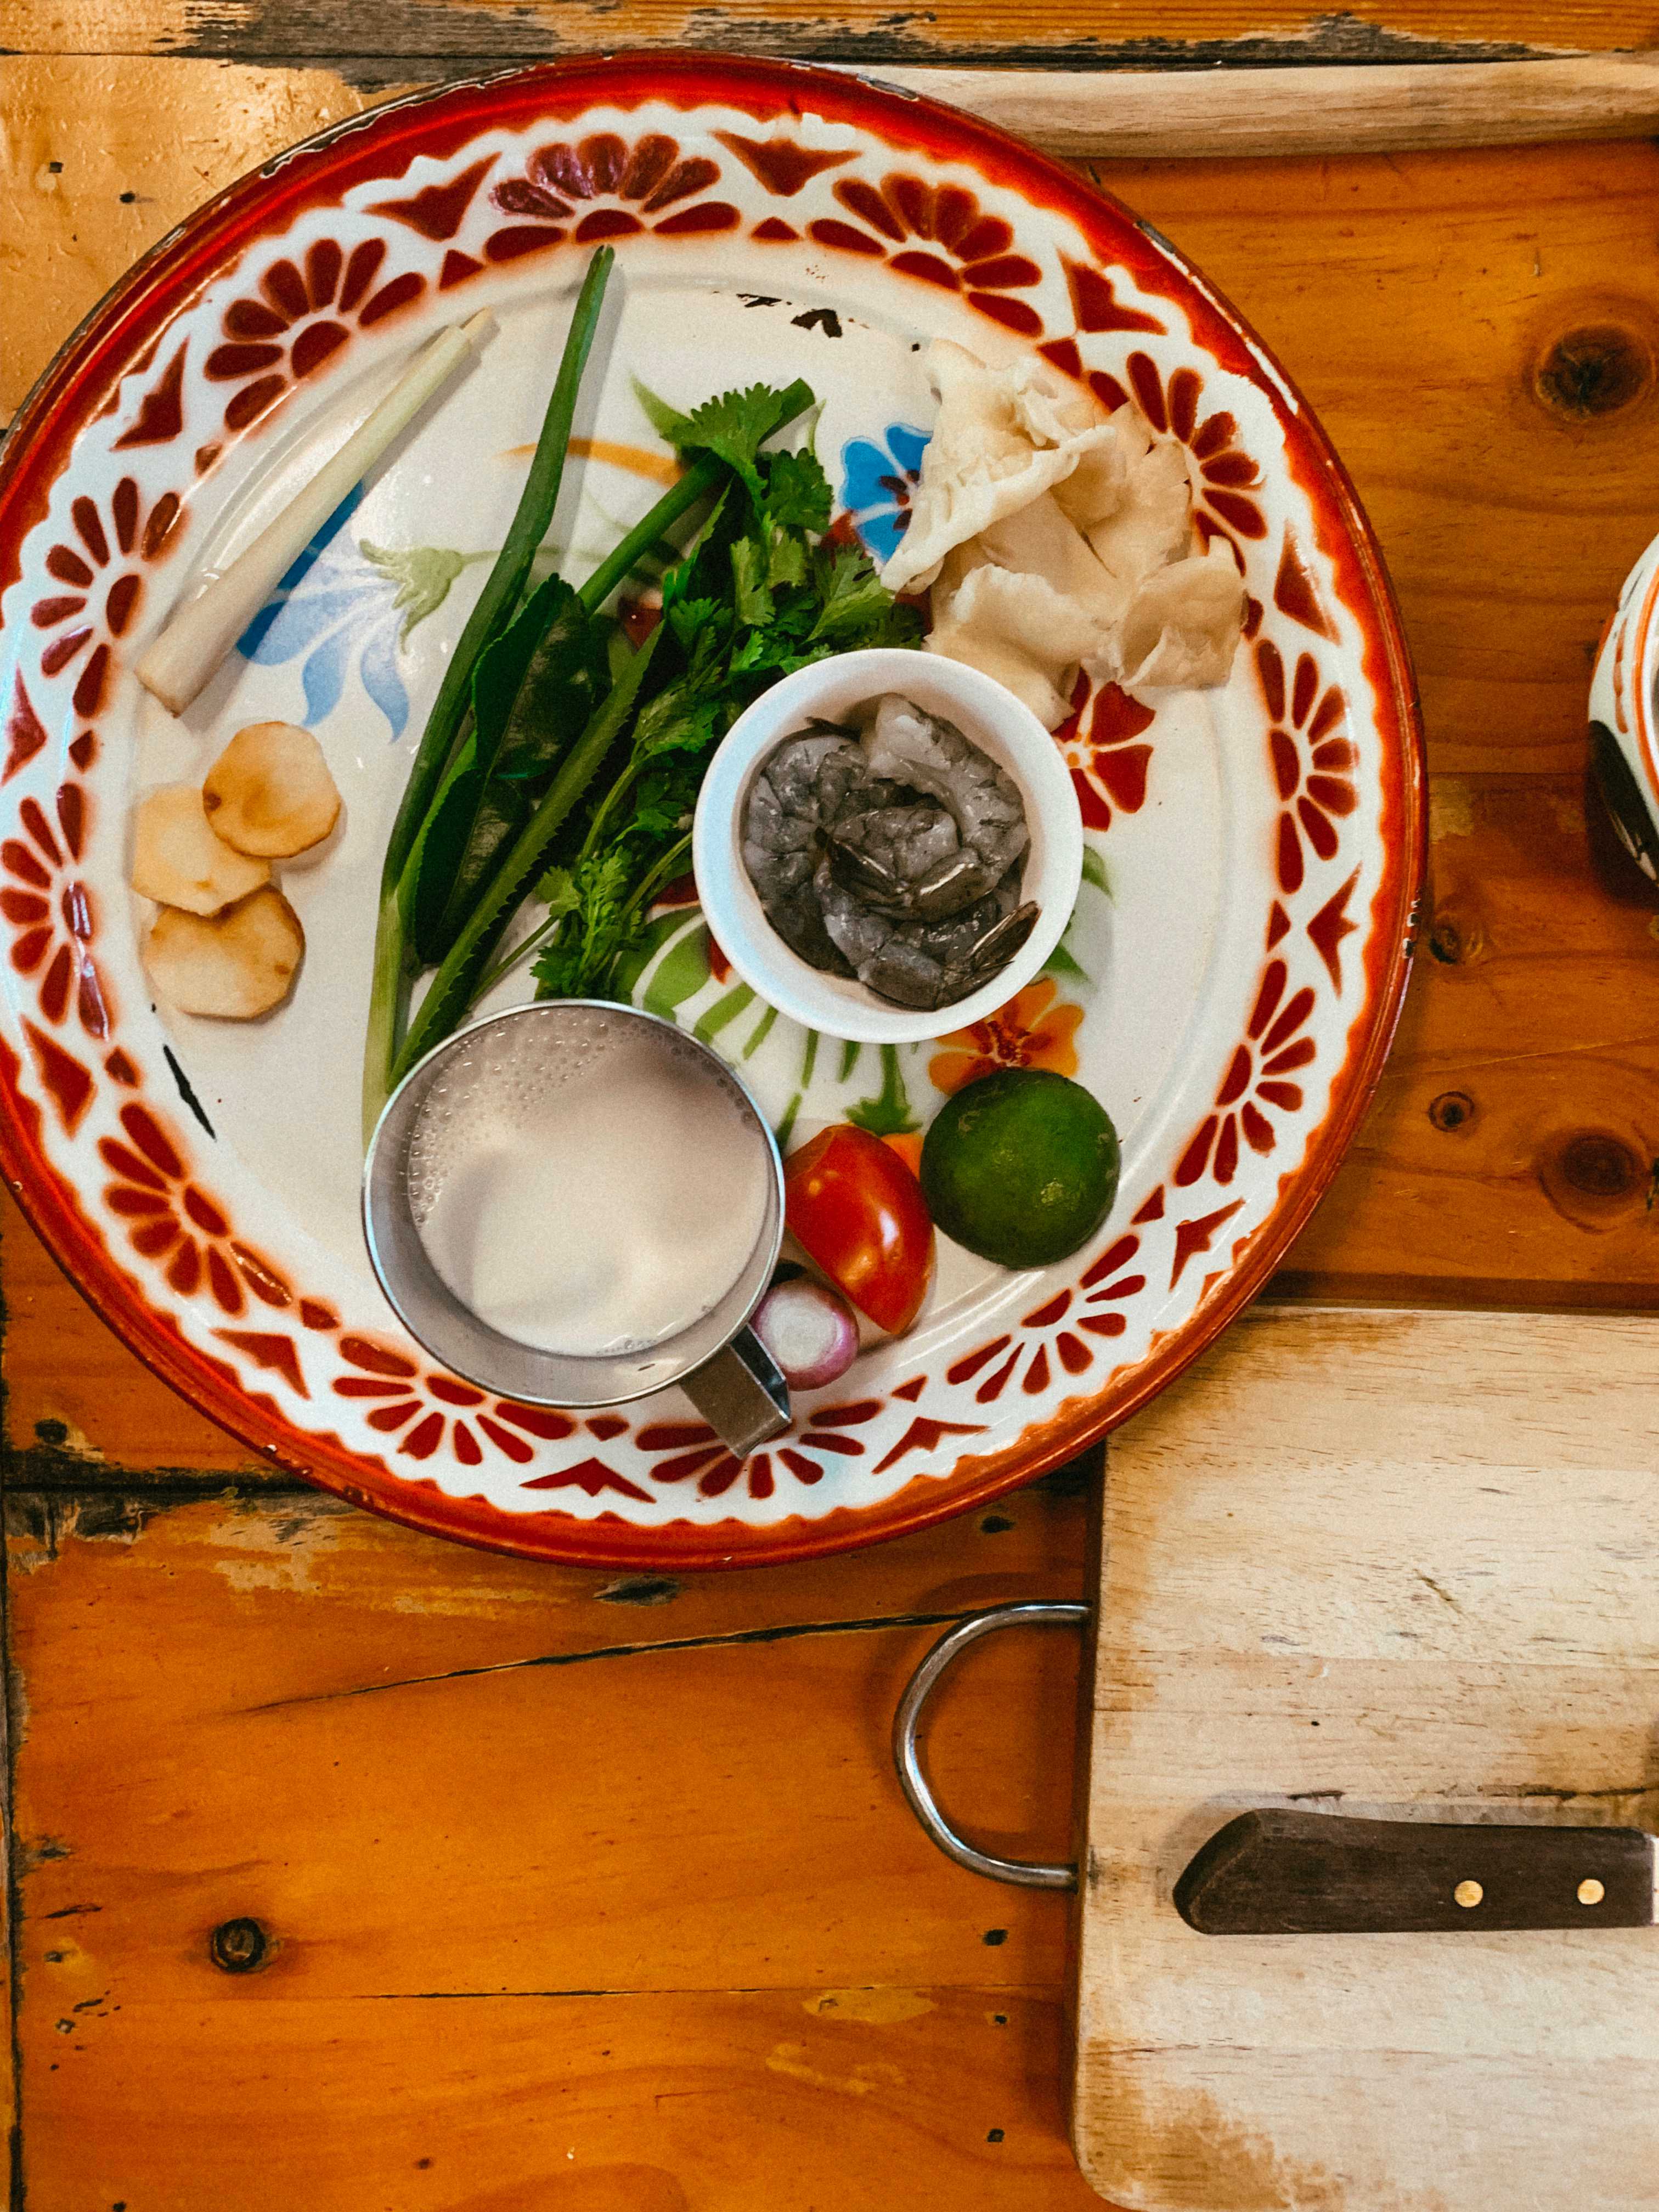
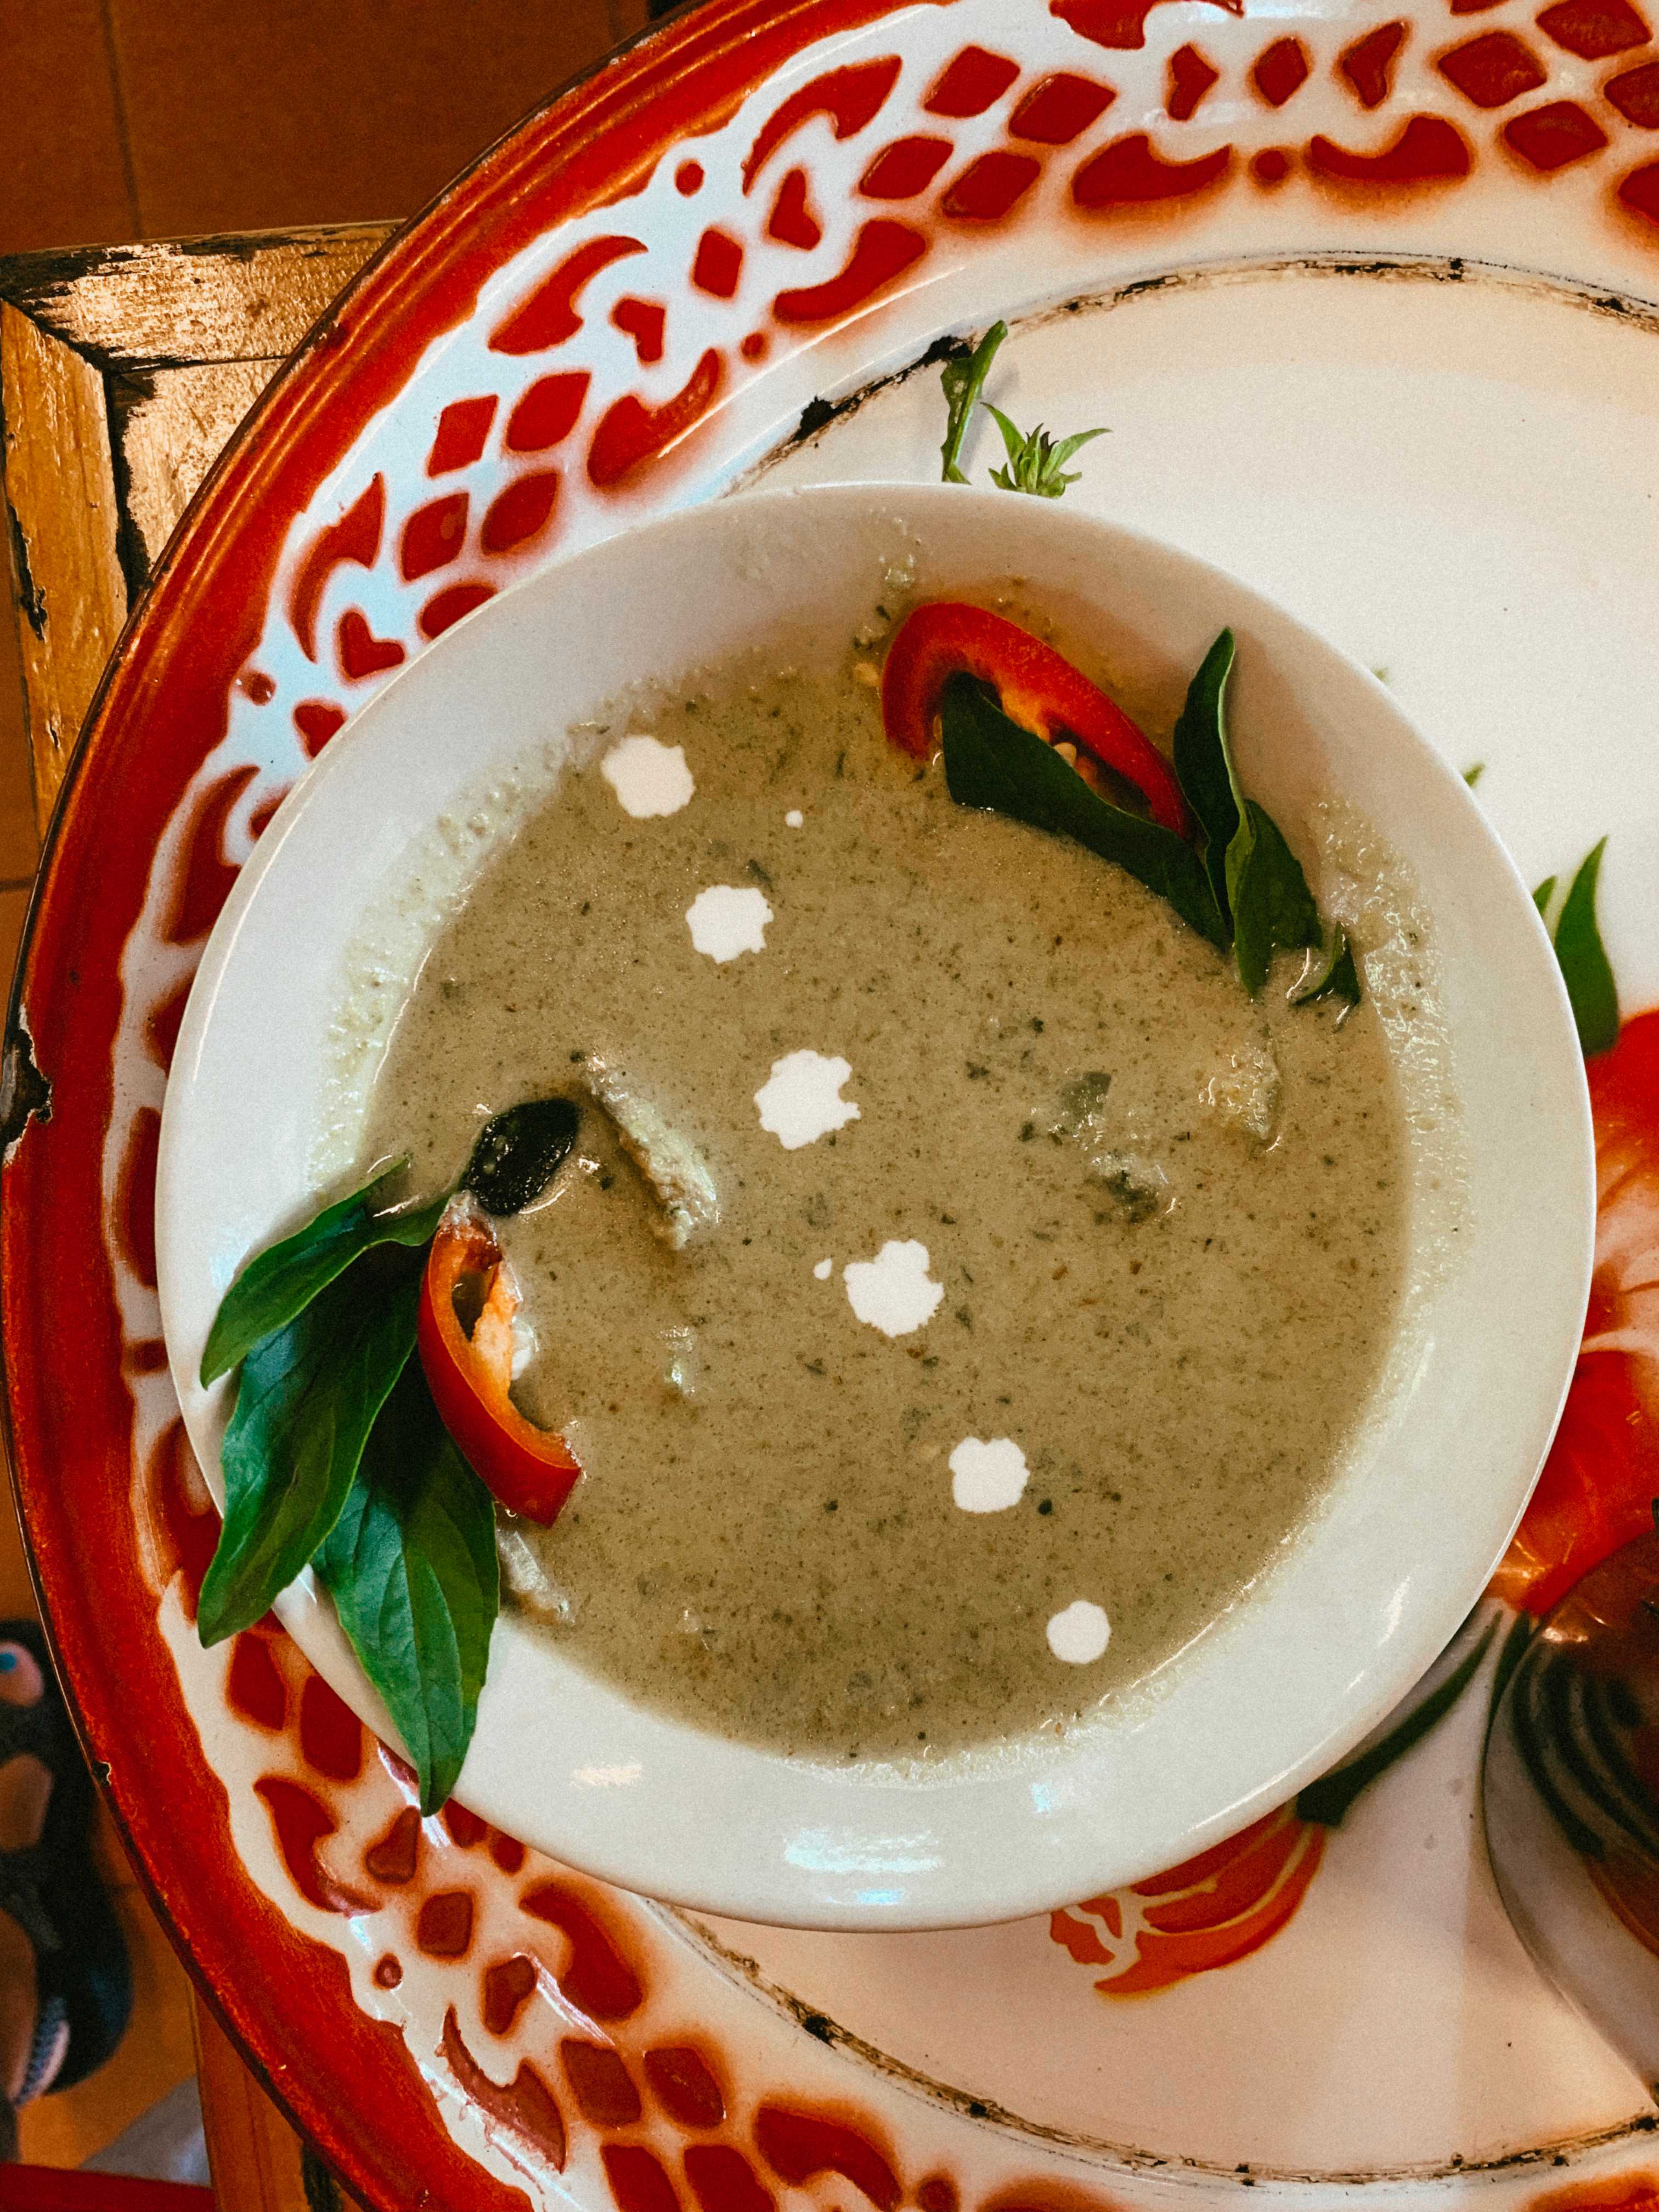
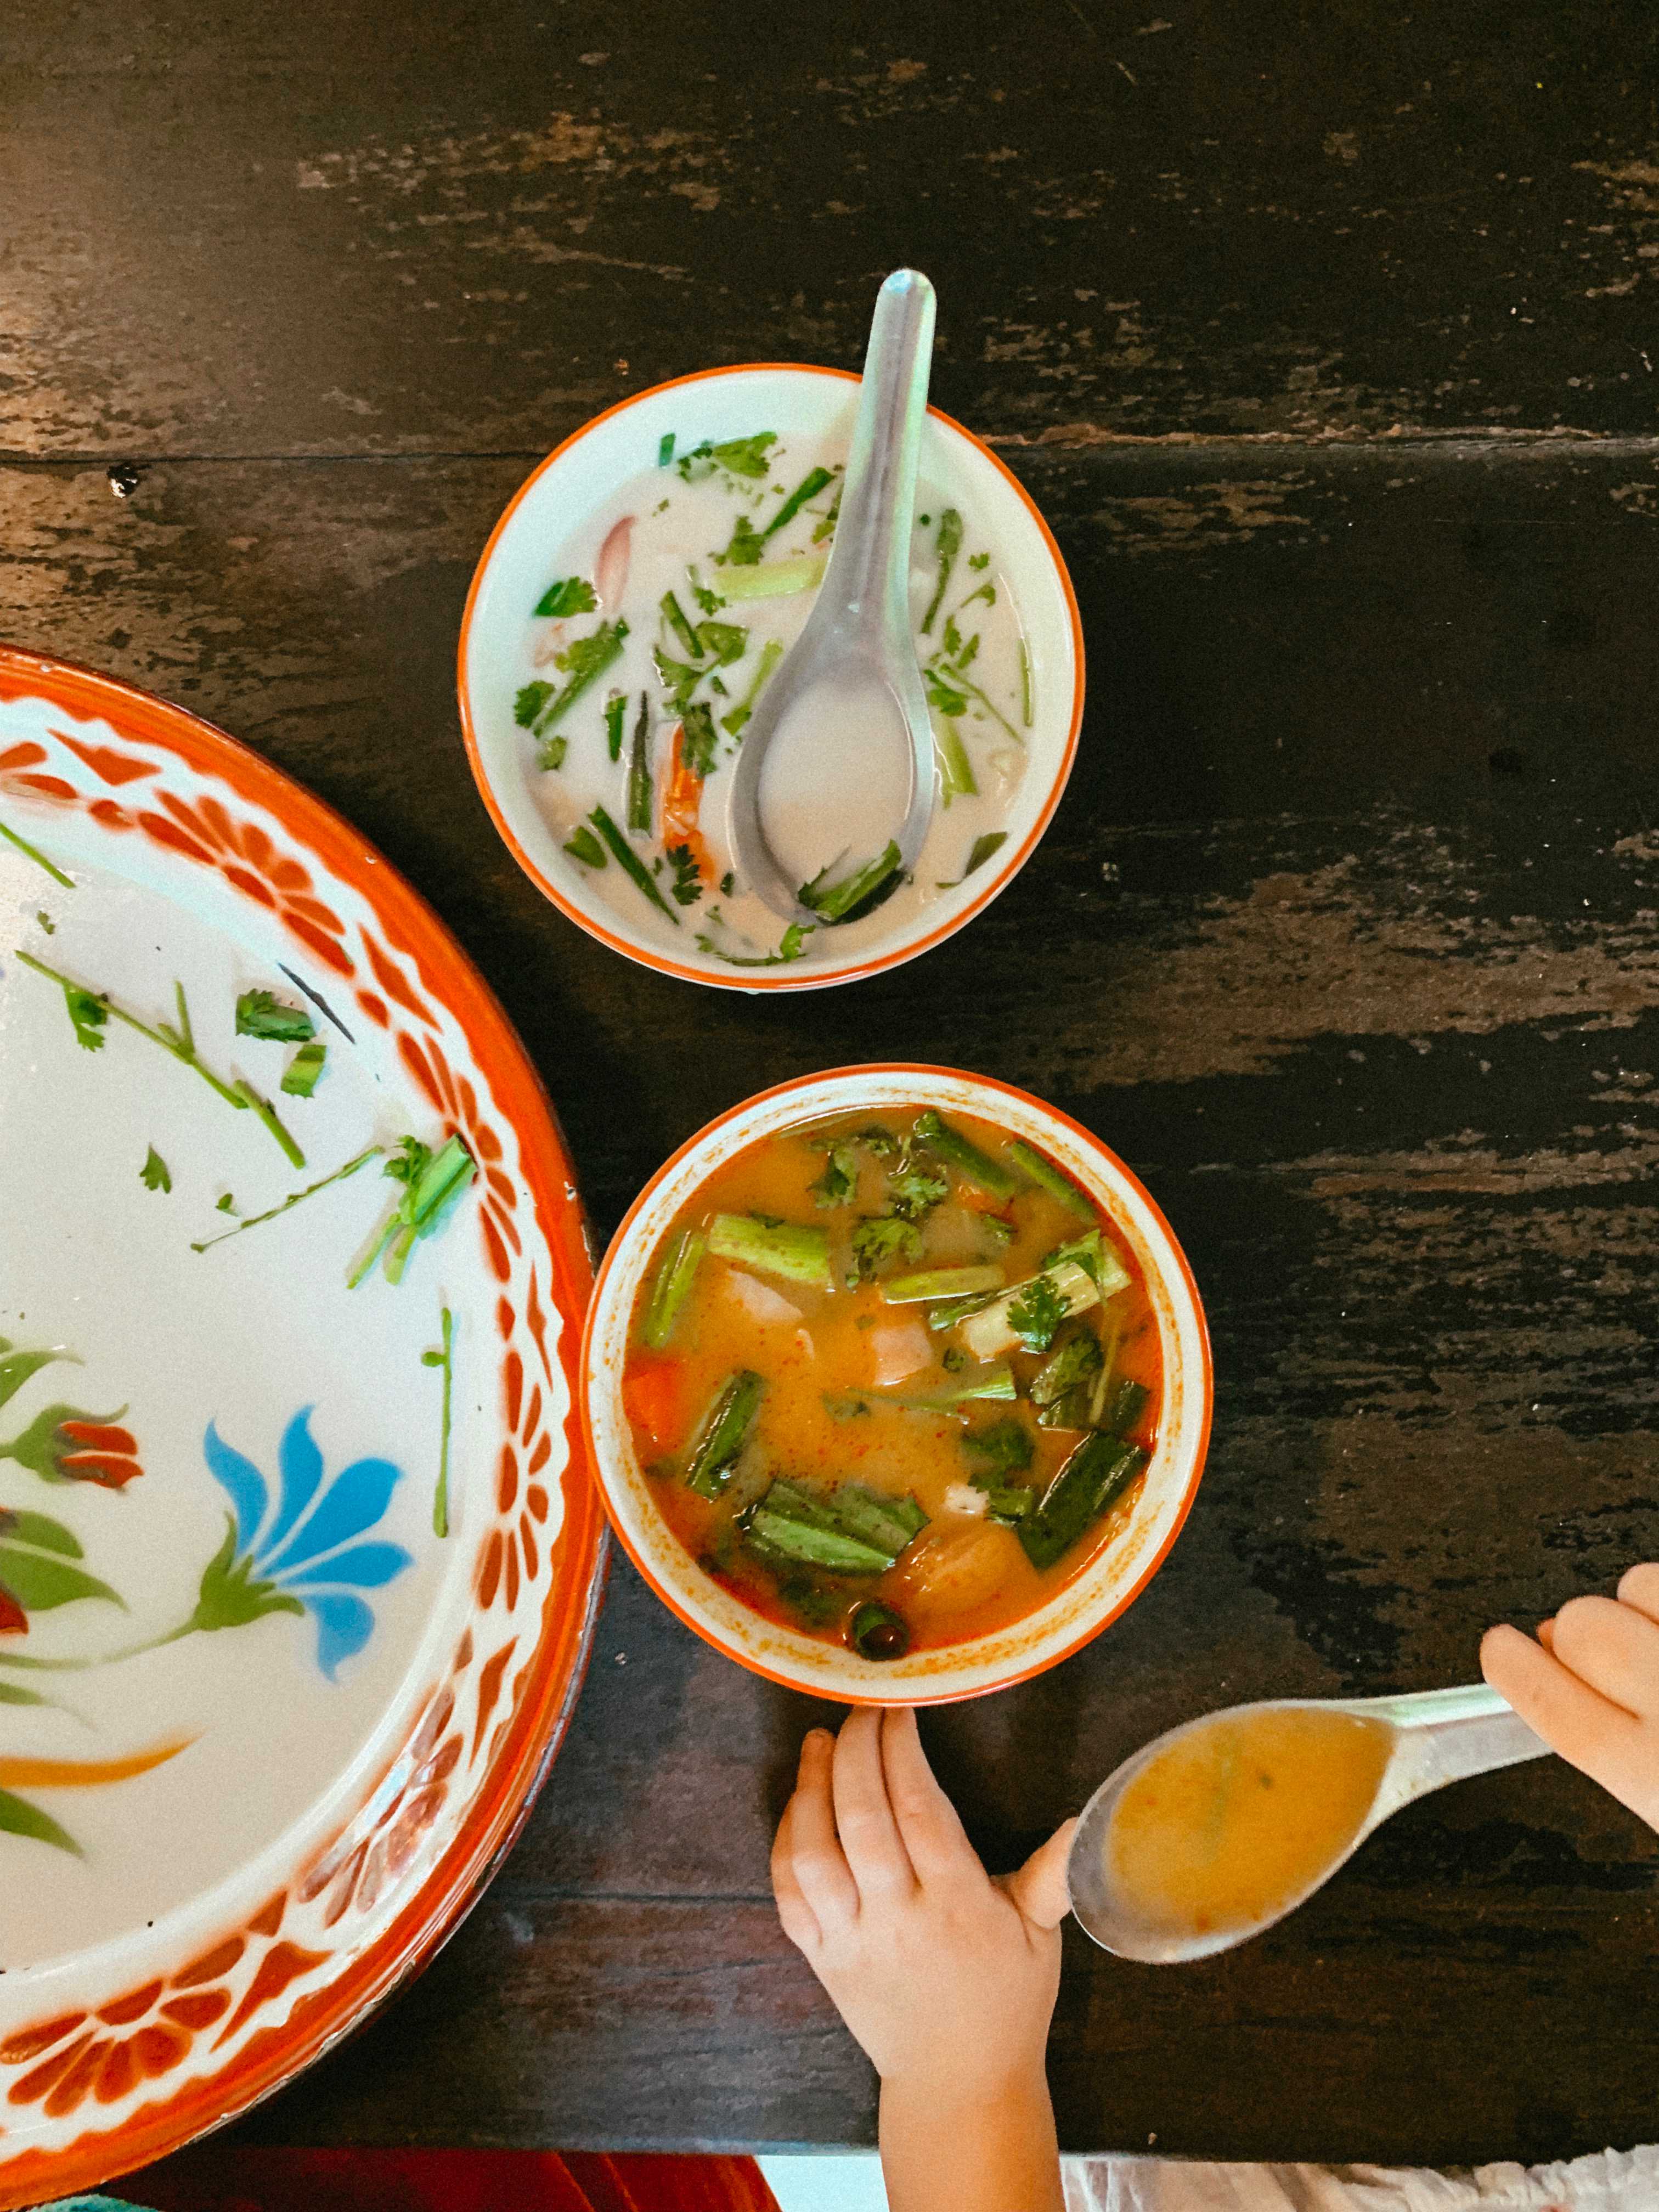
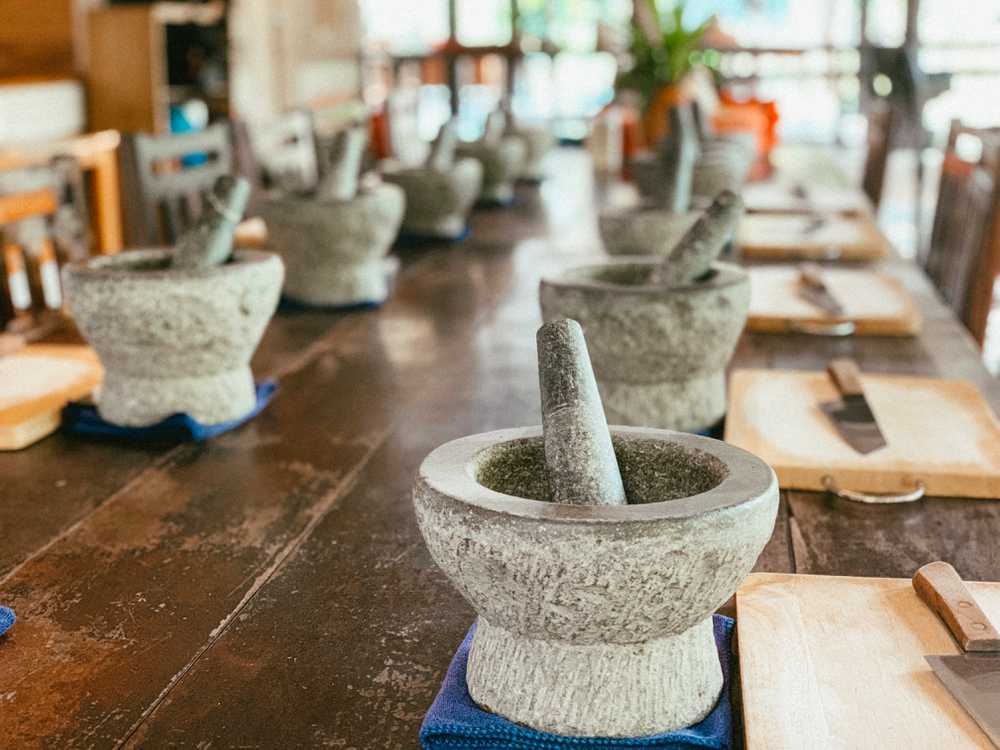
We made it back to our table and our teacher started teaching us how to make our own curry paste. We took the different ingredients based on what kind of curry we were making and followed her directions. I chose to make green curry. We grinded it up in the mortar and pestle, which was pretty hard work! Stella enjoyed watching this part, she wasn’t sure what was going on but was interested because of all the loud sounds! We made our curry paste, and then it was time to start making our soup! The soup I chose to make was coconut milk shrimp soup. This wasn’t my favorite, the fish sauce was too strong, but the shrimp was good! The teacher made the tom yum soup with shrimp for Abe. Abe really liked that soup, and I agree— the tom yum soup was better than the coconut milk one! We immediately ate this soup after we finished cooking it.
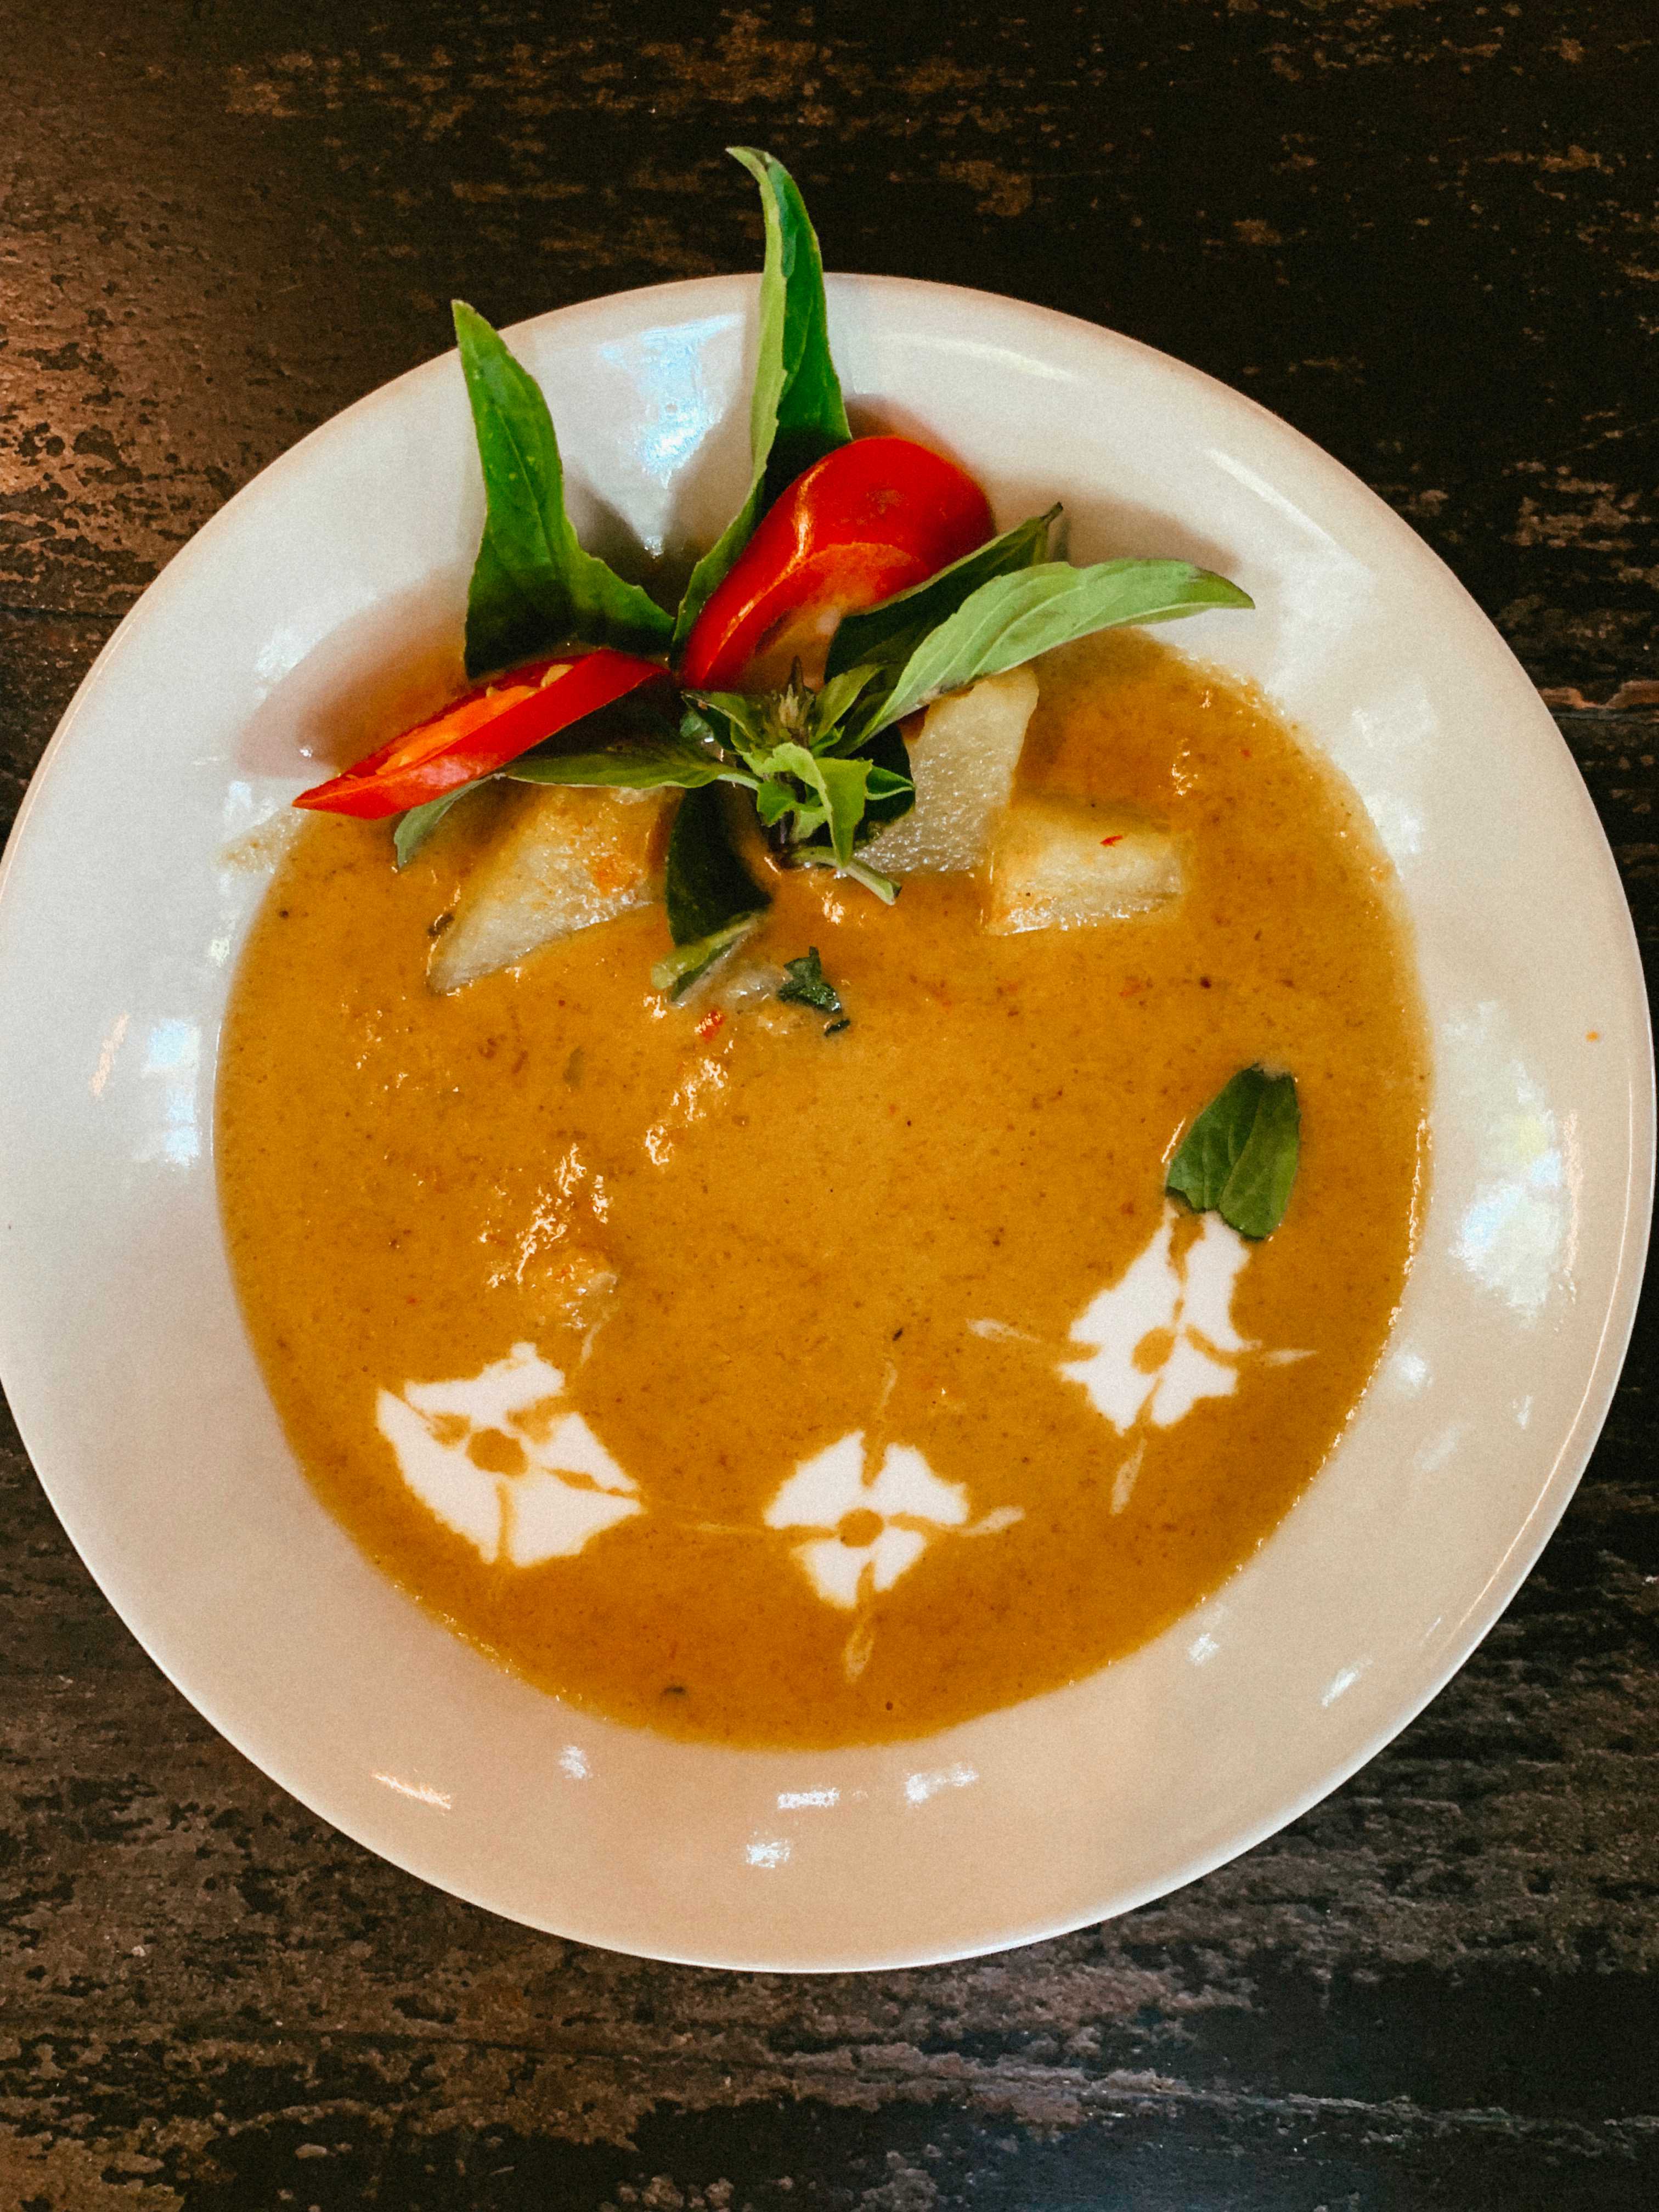
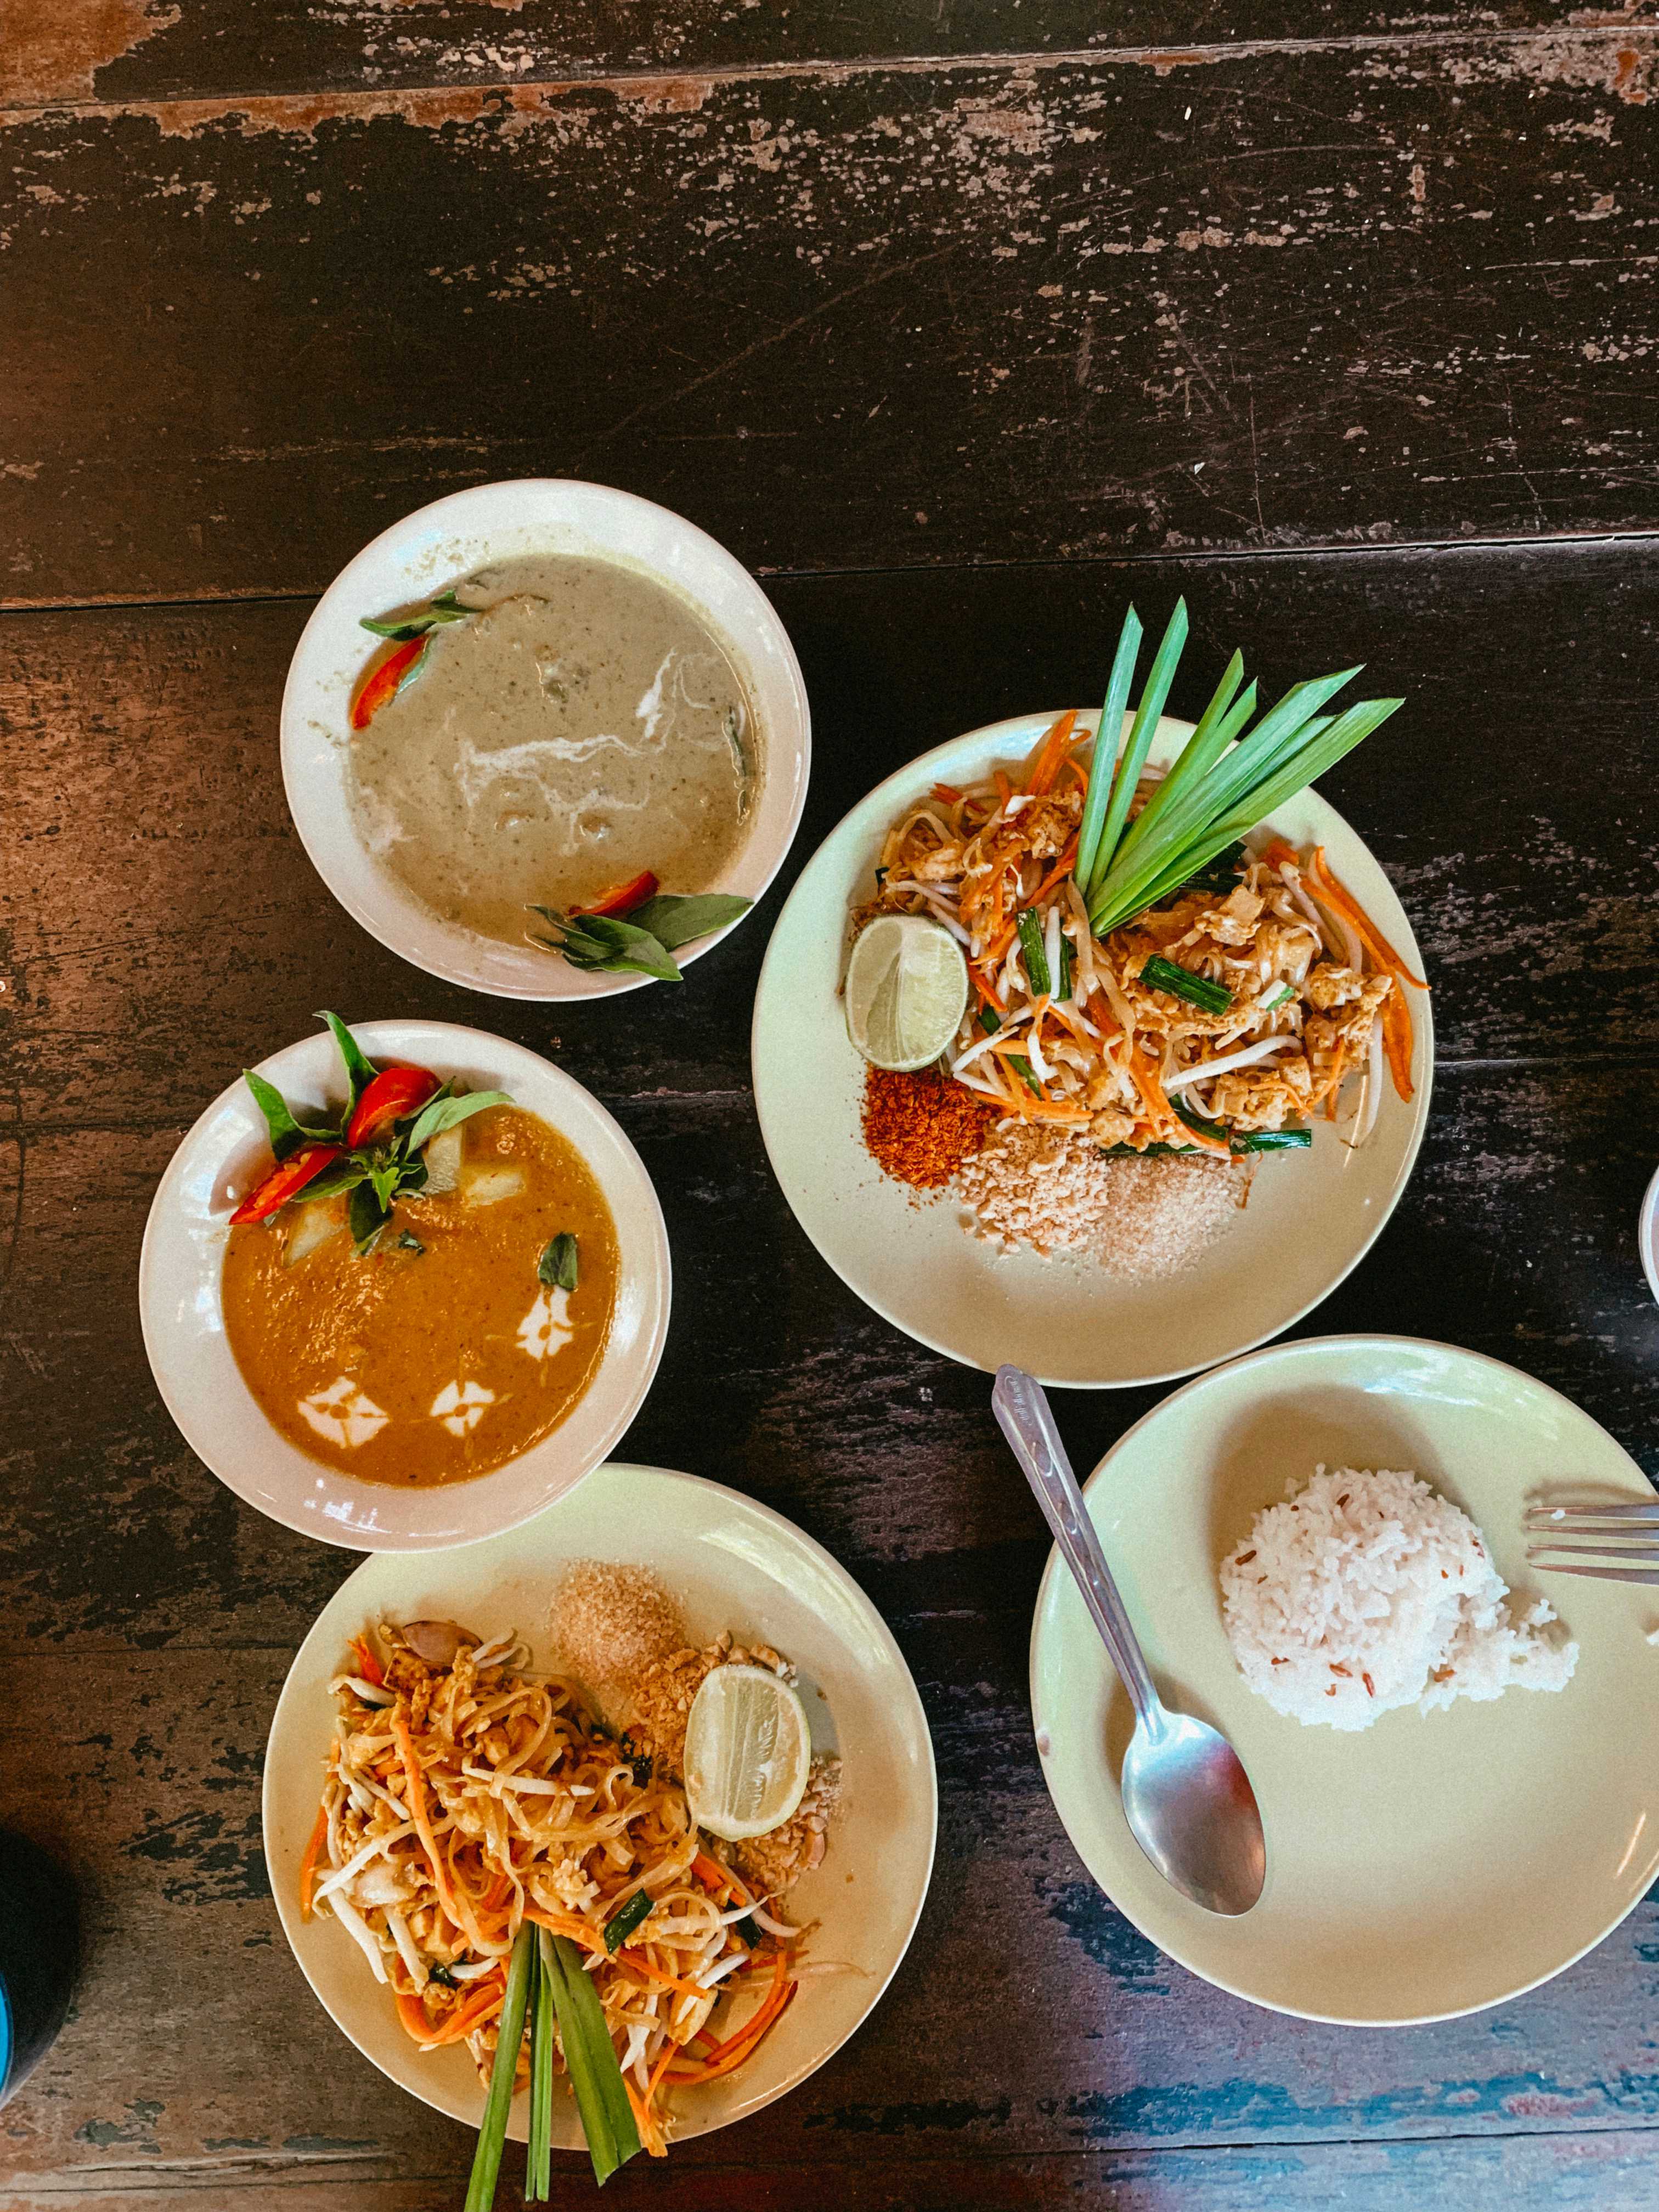
After our soup it was time to make our curry. We each had our own station and our teacher handed us trays with all of the ingredients. Step by step instructions and explanations which were very helpful! After we made the curry we put it on our table and covered it with a plate. Then we started making pad thai. This was SO easy and SO delicious. We got a recipe book with all of the recipes and I’m going to include the pad thai recipe down below.
When we finished the pad thai, we ate that and our curry. I didn’t love the green curry, Abe had the yellow curry, which neither of us loved either, but I think it was more of a texture thing. When you grind your own curry paste it’s hard to get it smooth enough. I think it’s probably better to buy the paste already as is, but it was a fun activity. Now the pad thai on the the other hand was AMAZING. I loved knowing exactly what was in it. The sauce was so good. I loved being able to make it and know exactly what all of the ingredients were. The tofu was even good! And I don’t normally eat the tofu in pad thai (or anything for that matter haha).
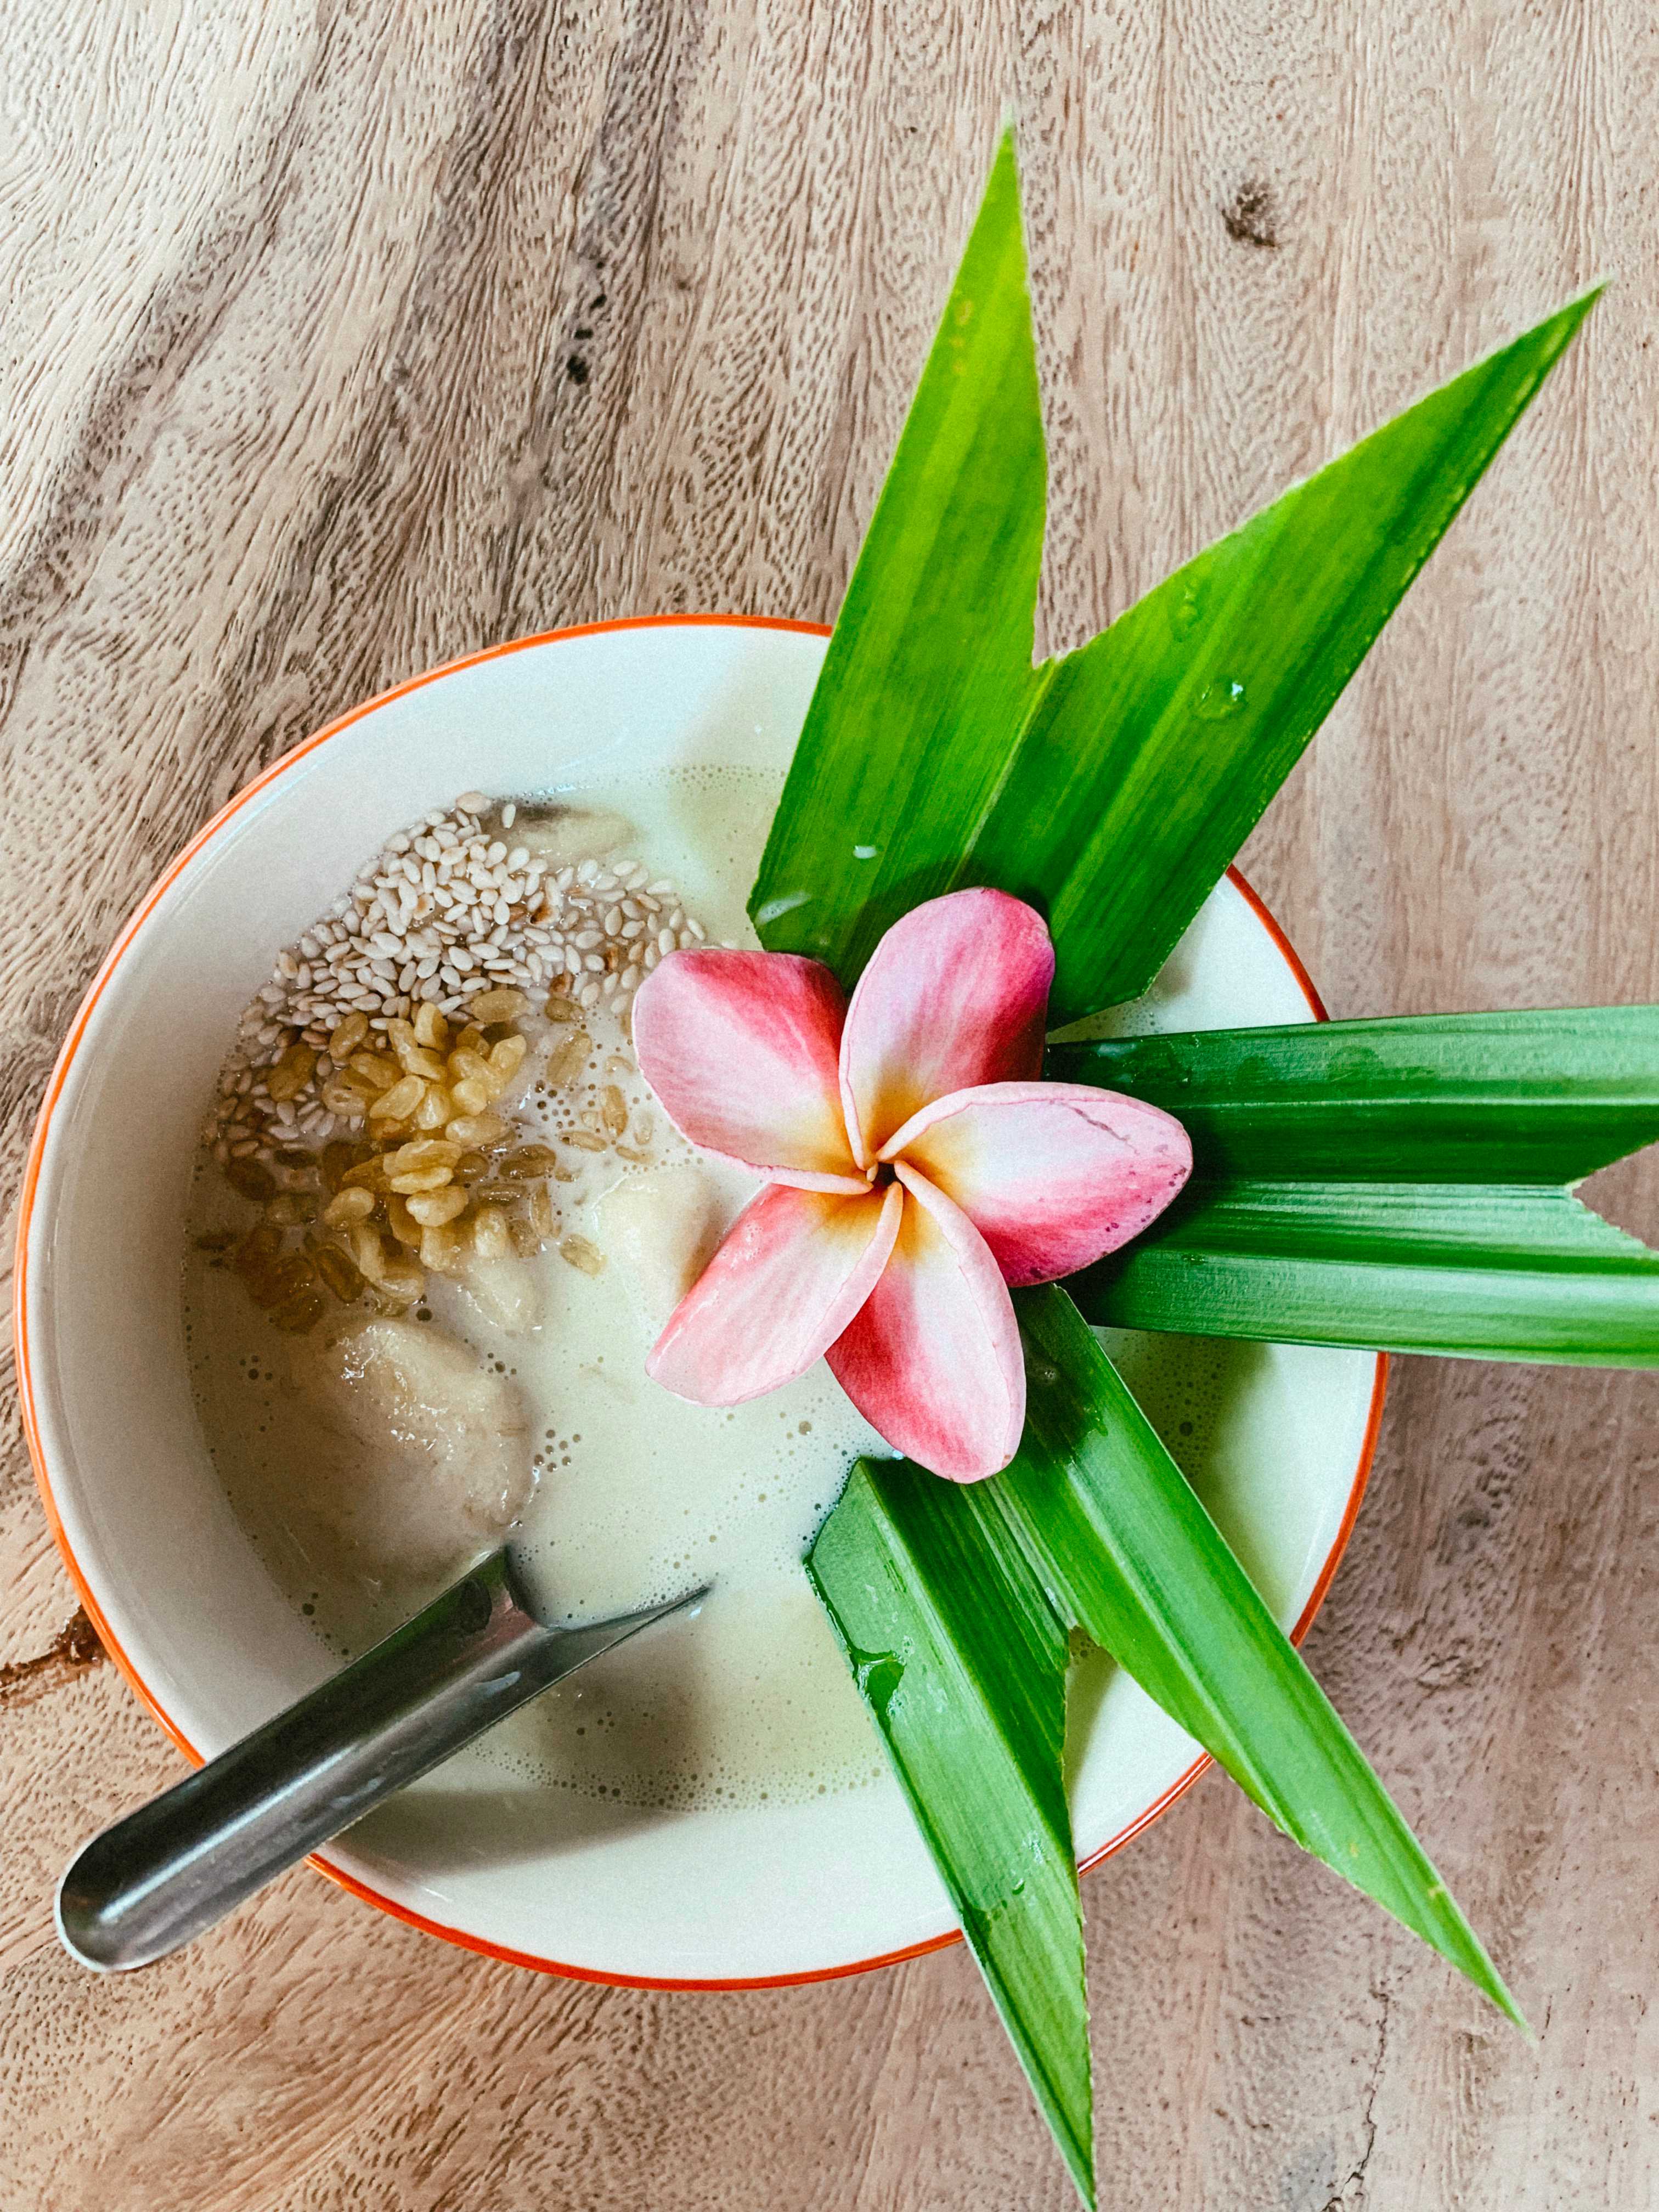
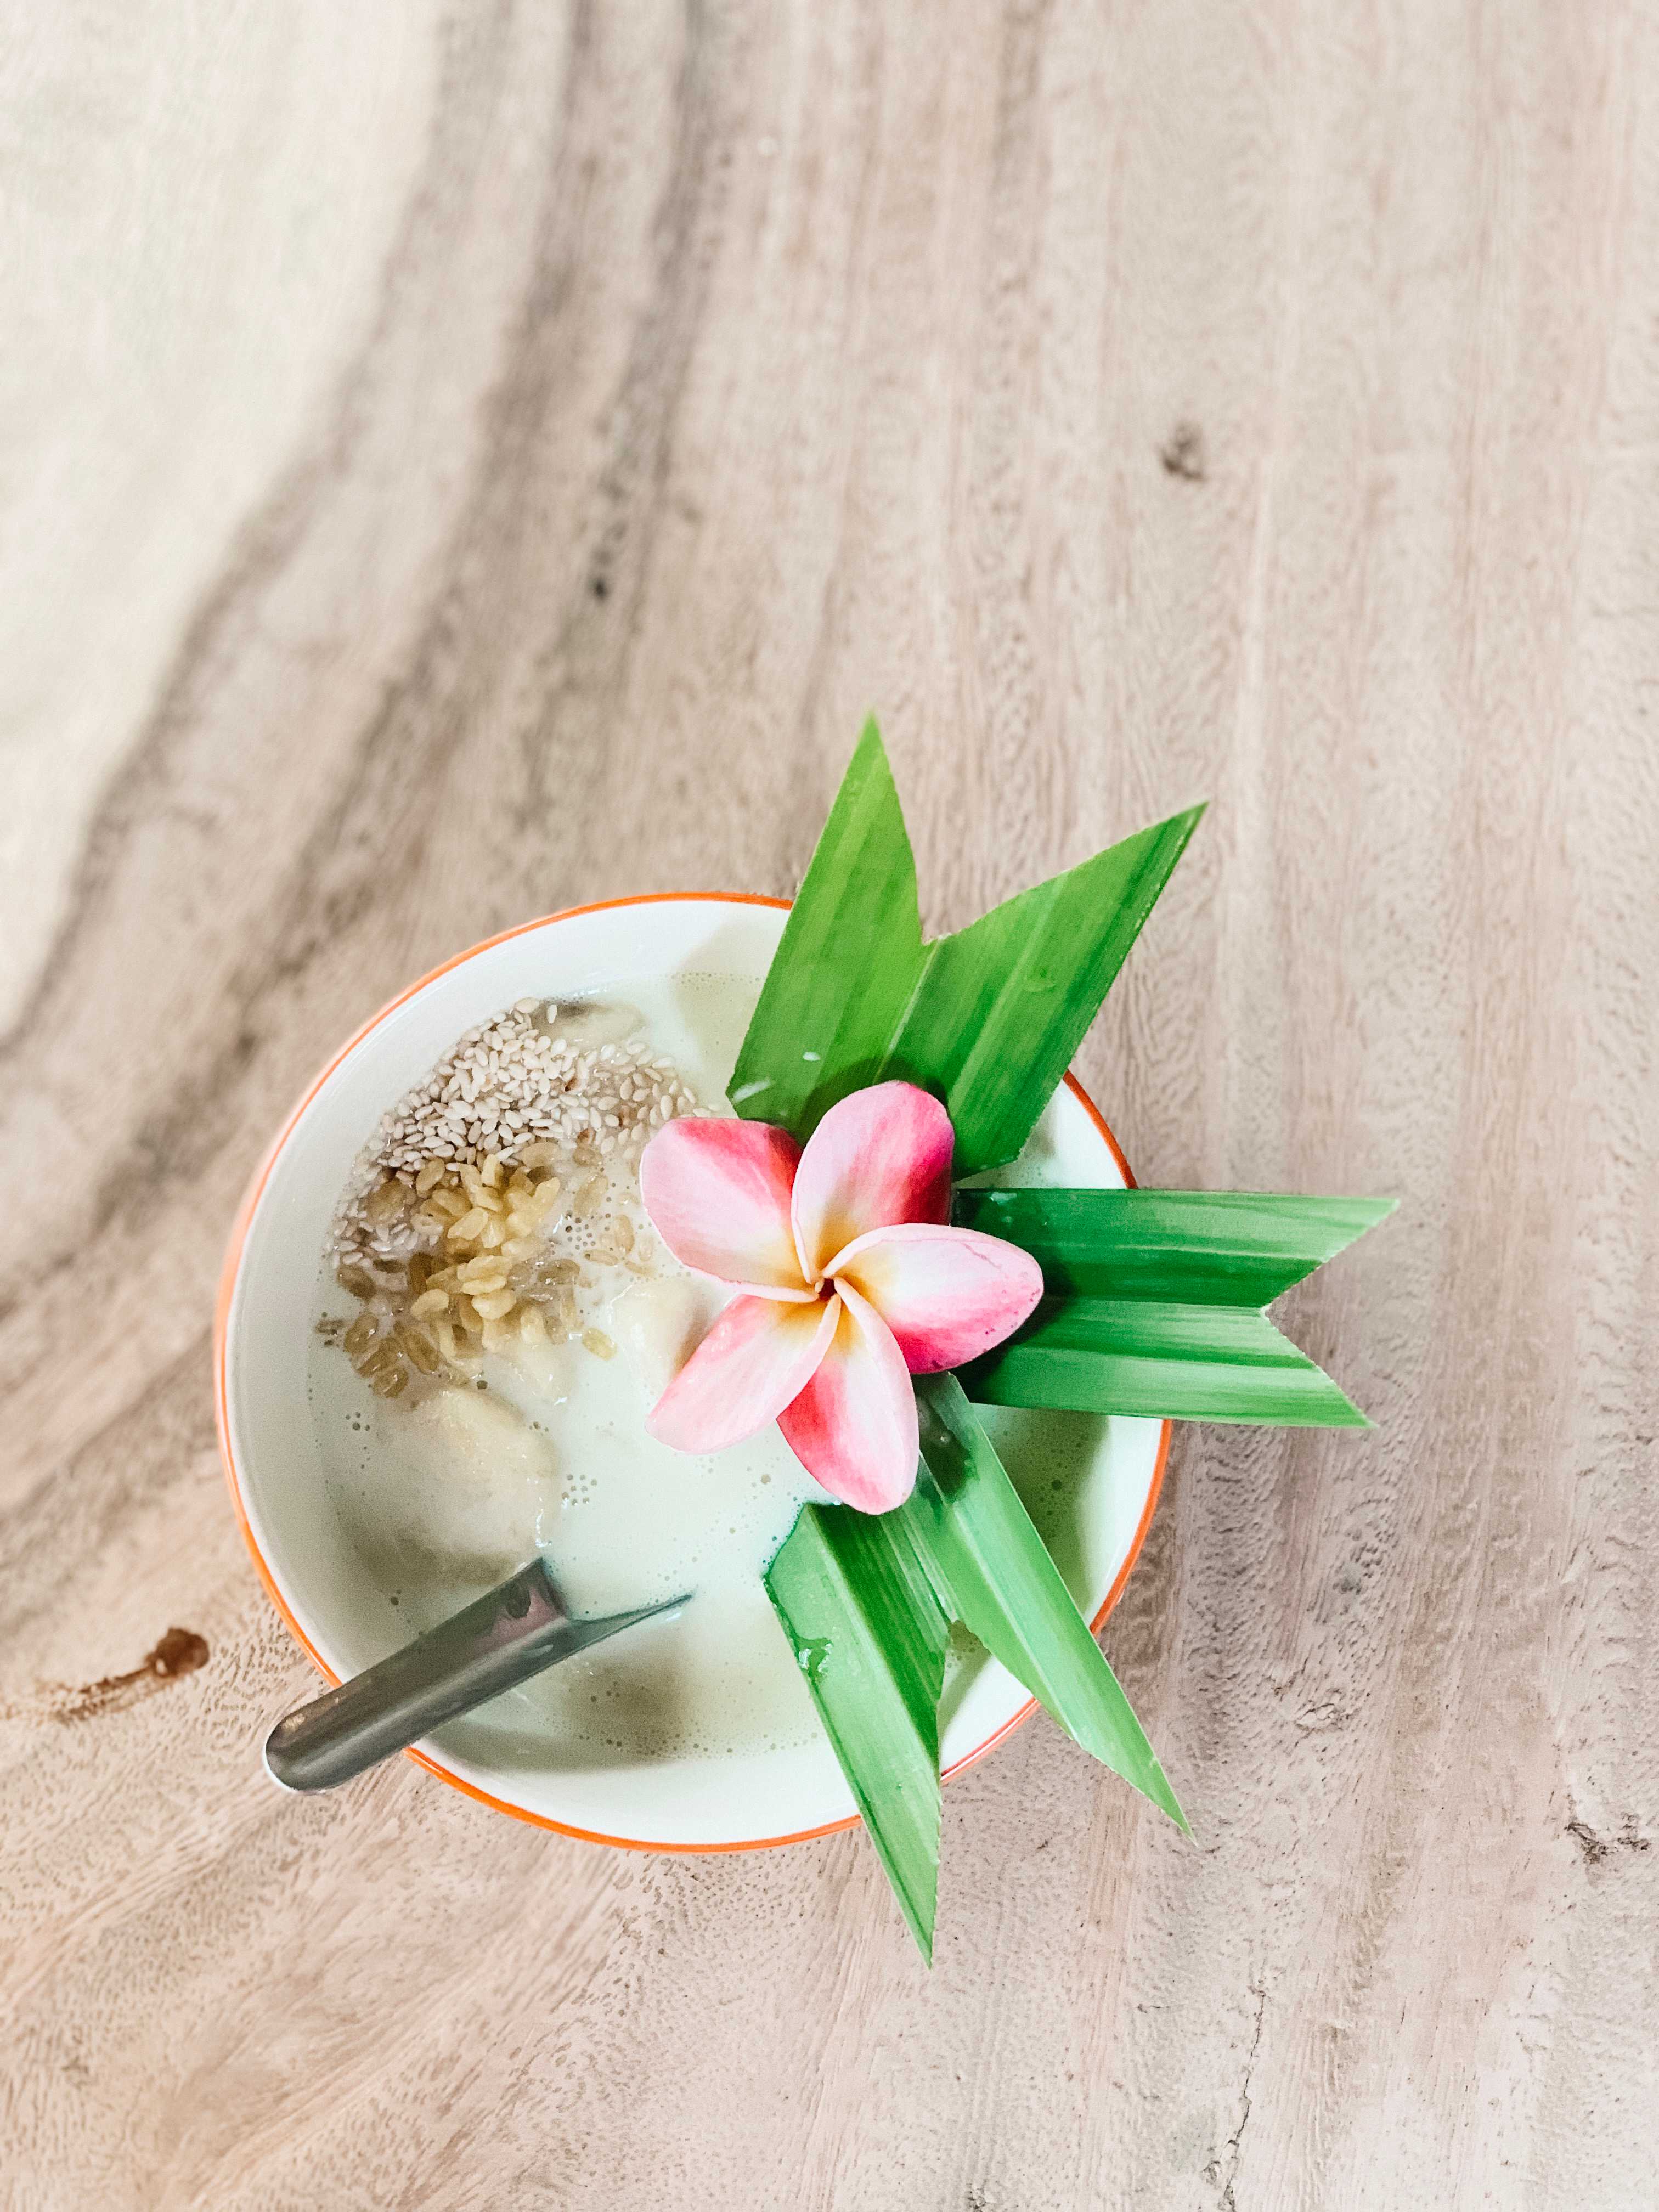
We still had dessert to make, which was just a sweetened coconut milk and banana mixture that we boiled on the stove top for a little bit. It was quite good to be honest.
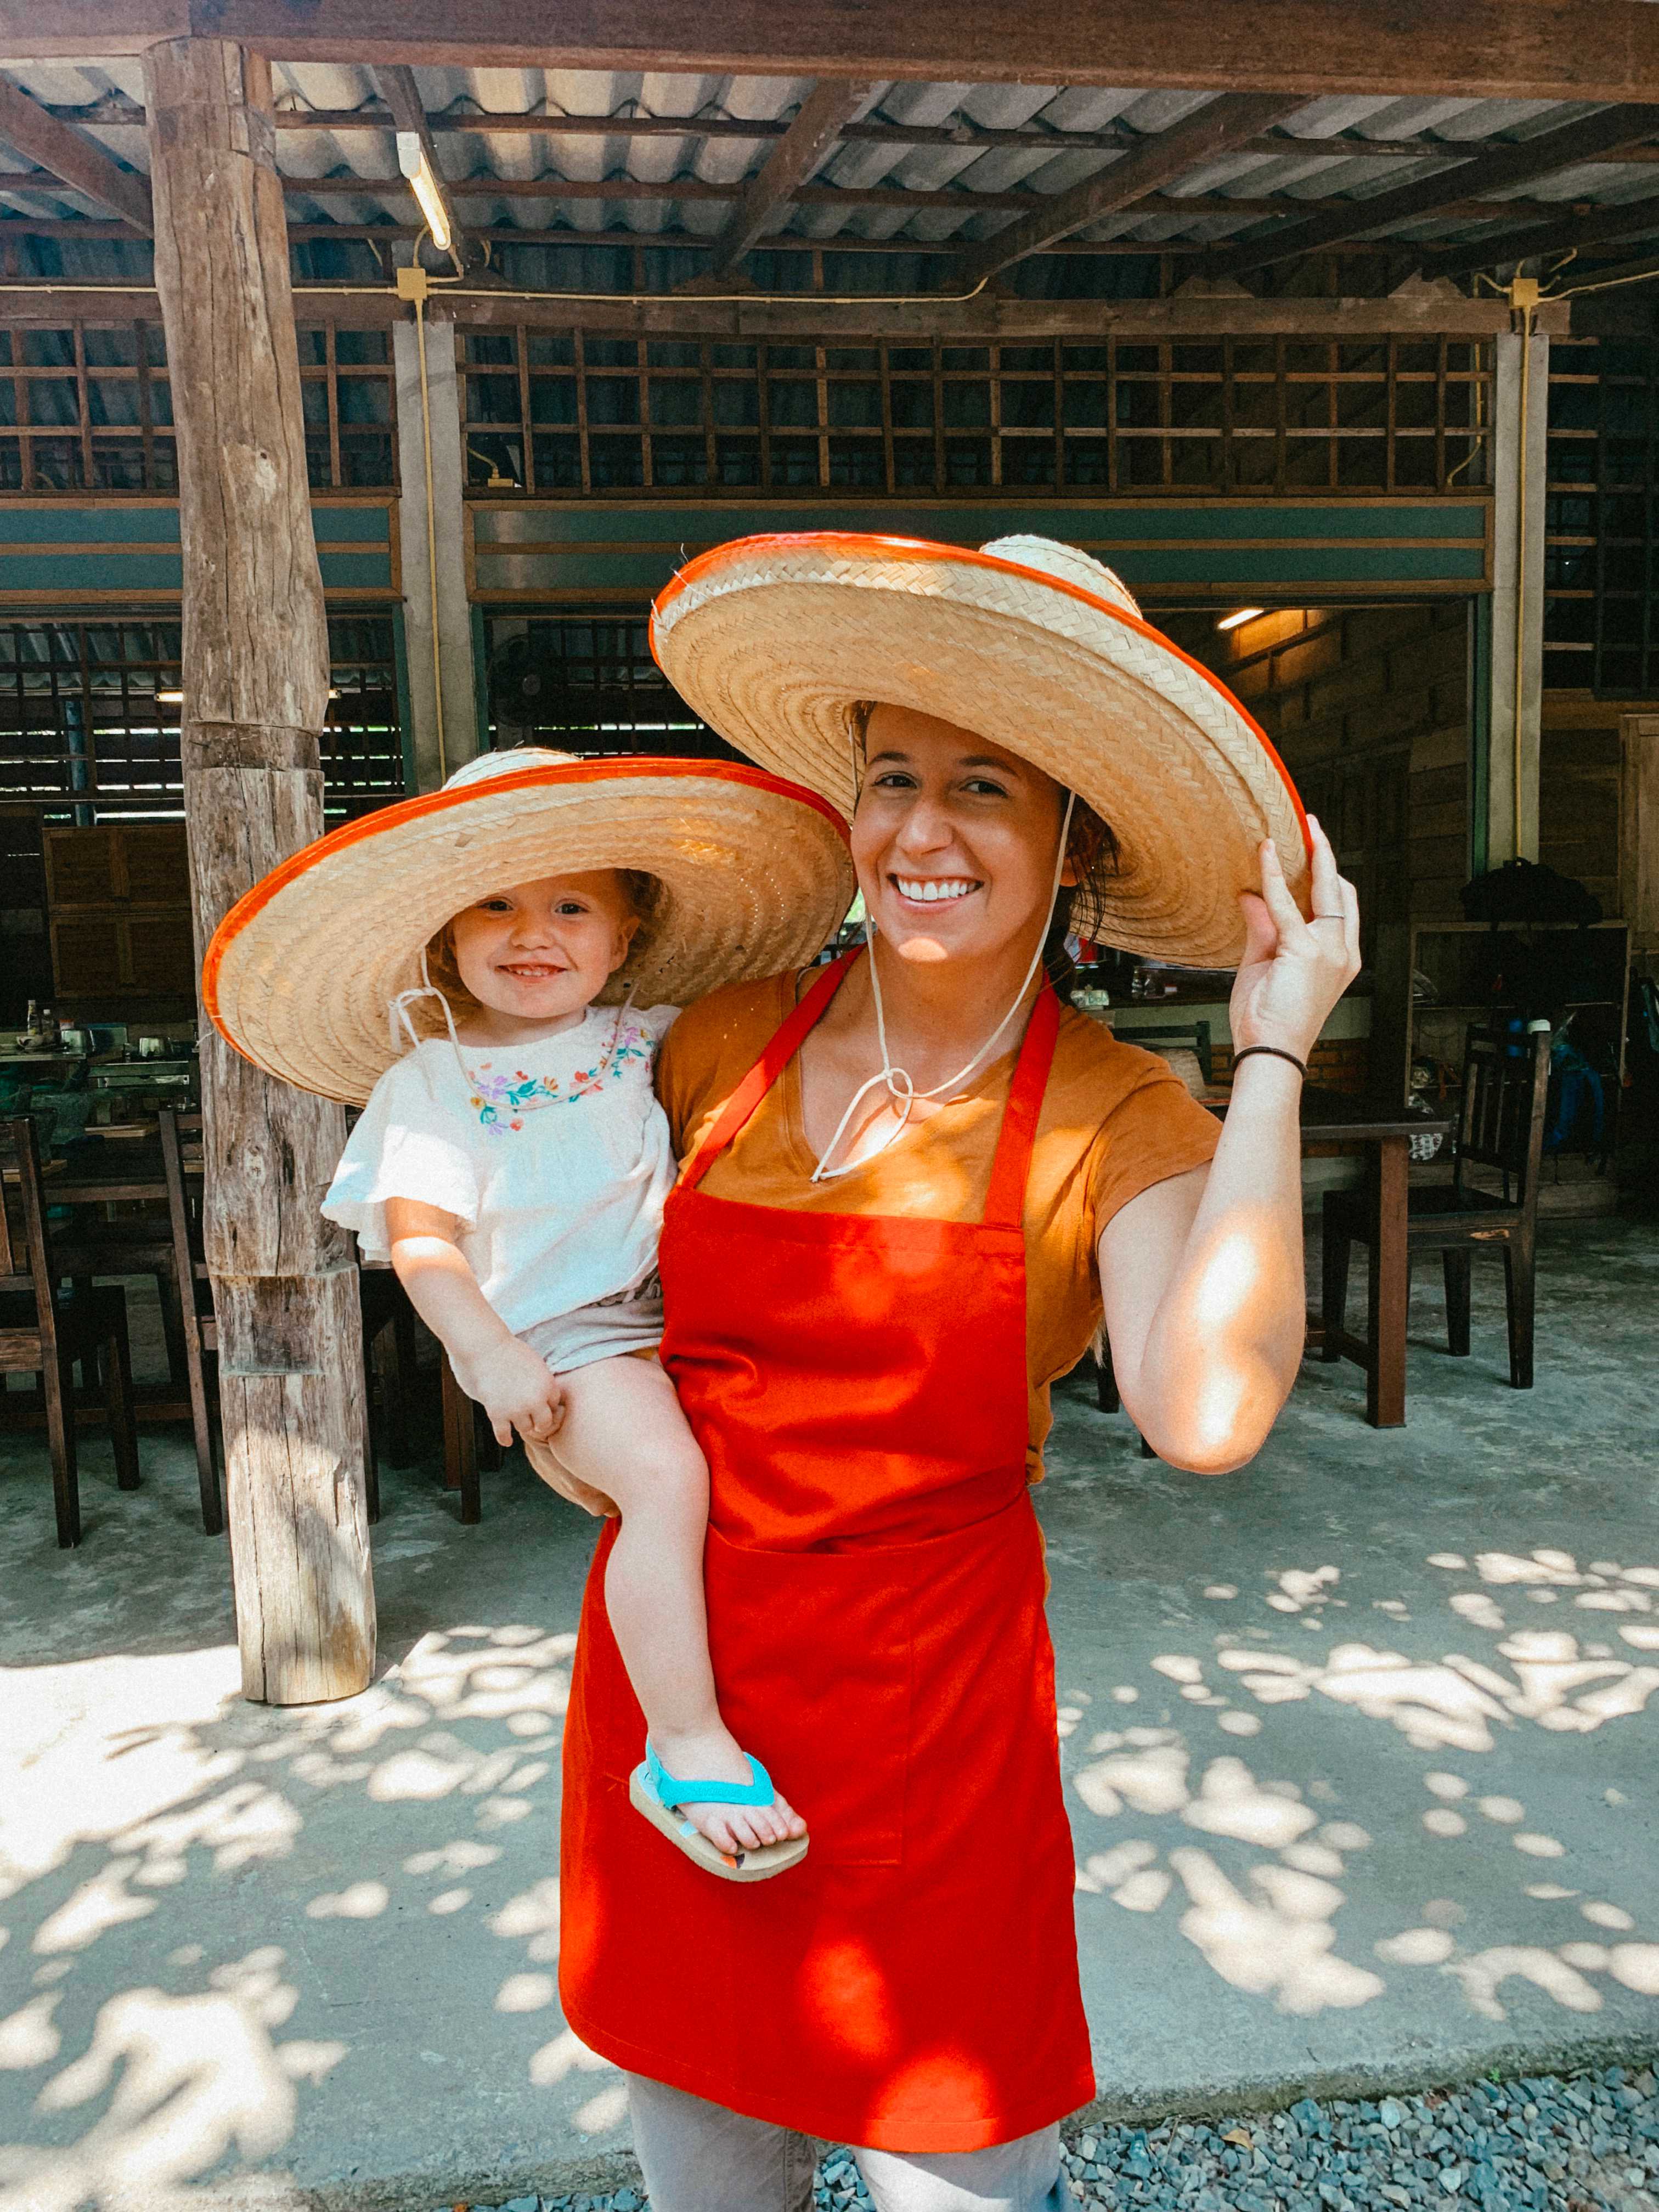
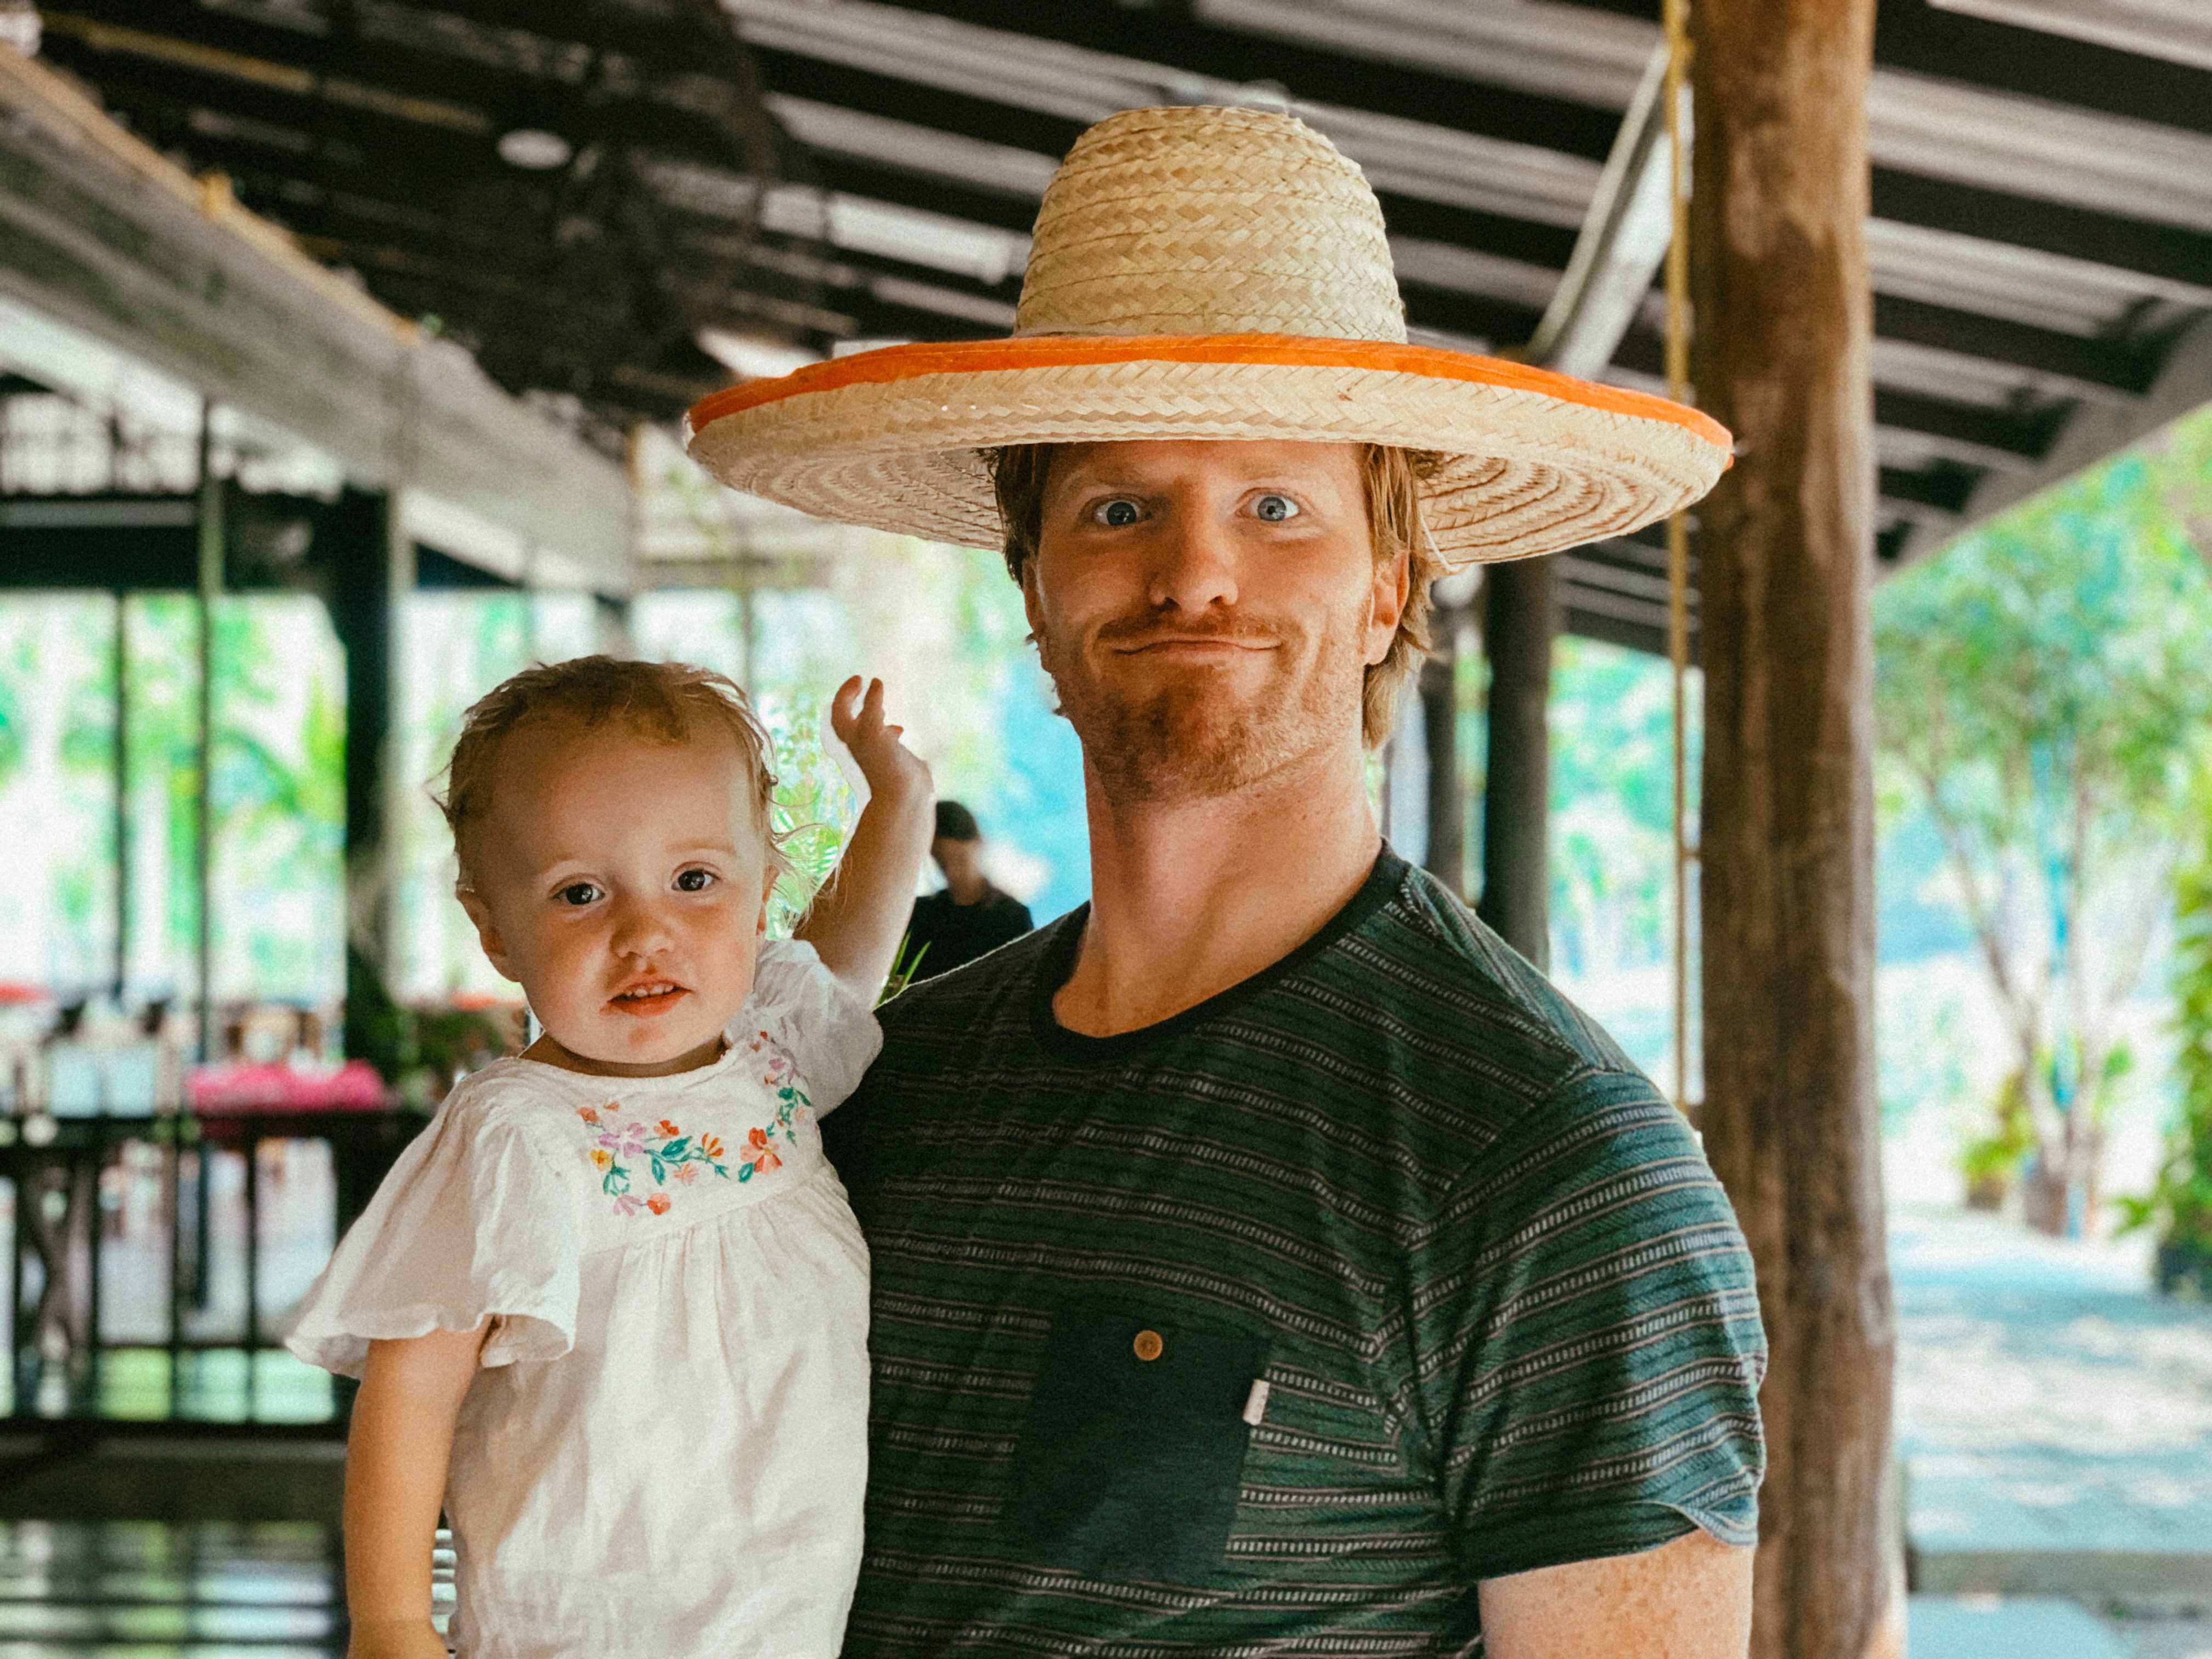
We loved this cooking class! As I mentioned at the beginning of the post, here is how we managed it with a toddler. I booked a half day cooking class (a full day just seems too long and like WAY too much food haha). I booked one adult and one adult visitor. Booking an adult visitor means that the instructor cooks an extra portion for the visitor. I’m not sure if the group can have more than one visitor in each group, since the instructor is cooking the same things/portions the class is, but it is worth asking about. You pay the full price for the one person who is doing the cooking, and there is a cheaper price for the visitor (to just cover the cost of the food).The area we were cooking in was outdoors and very open, so Stella was able to wander around and pick up rocks and just do whatever while I did the cooking class. Abe hung out with Stella and then we would all eat at the same time. The instructor was so nice, she even made fried rice with shrimp for Stella! This worked out so well. We did this cooking class with Thai Farm Cooking School. I would definitely recommend this cooking class, we loved it and it was a great learning experience!
Now as promised here is the Pad Thai recipe!
Ingredients:
- 80 grams of rice noodles (Soak 30 minutes in water until soft)
- 1/3 cup grated carrots
- 1/2 cup bean sprouts
- 1/3 cup tofu cut into small cubes
- 1 egg
- 2 Tbsp. crushed roasted peanuts
- 2 tsp. tamarind paste OR 1 1/2 tsp. white vinegar
- 1 1/2 tsp. palm sugar or brown sugar
- 1 Tbsp. fish sauce or soy sauce
- 1 Tbsp. chopped chives (or green onion)
- Pinch of chili powder
- 2 Tbsp. oil
- Pinch of salt
- 1/3 cup water
- 1 tsp. molasses
- 1 lemon
- 2 chopped shallots
Prepare the sauce
- Put water in bowl
- Add tamarind paste, palm sugar, fish sauce, molasses, and chili powder
- Mix together
Cook it up!
- Heat oil in wok on low heat
- Add tofu, shallots, and a pinch of salt. Fry until crunchy. Move to one side of the wok.
- Scramble egg and mix together with already fried tofu. Move the mixture to the side of the wok.
- Add noodles and seasoning sauce. Stir fry until noodles are soft (Doesn’t take long).
- Add bean sprouts, grated carrots, and chives. Mix together well and remove from heat.
- Serve with crushed panots and a slice of lemon.
Thanks for reading!
Lindsay